The big epoxy guide, part 3: Coating wood, gluing fillets and sealing holes with epoxy
Boote Redaktion
· 01.03.2023
The contents of this special
- Part 1: Basics of the miracle resin
- Part 2: Which resin for which purpose?
- Part 3: Coating, coving, holes
- Part 4: Tubes, fillers, beams, fittings
Fillers & additives
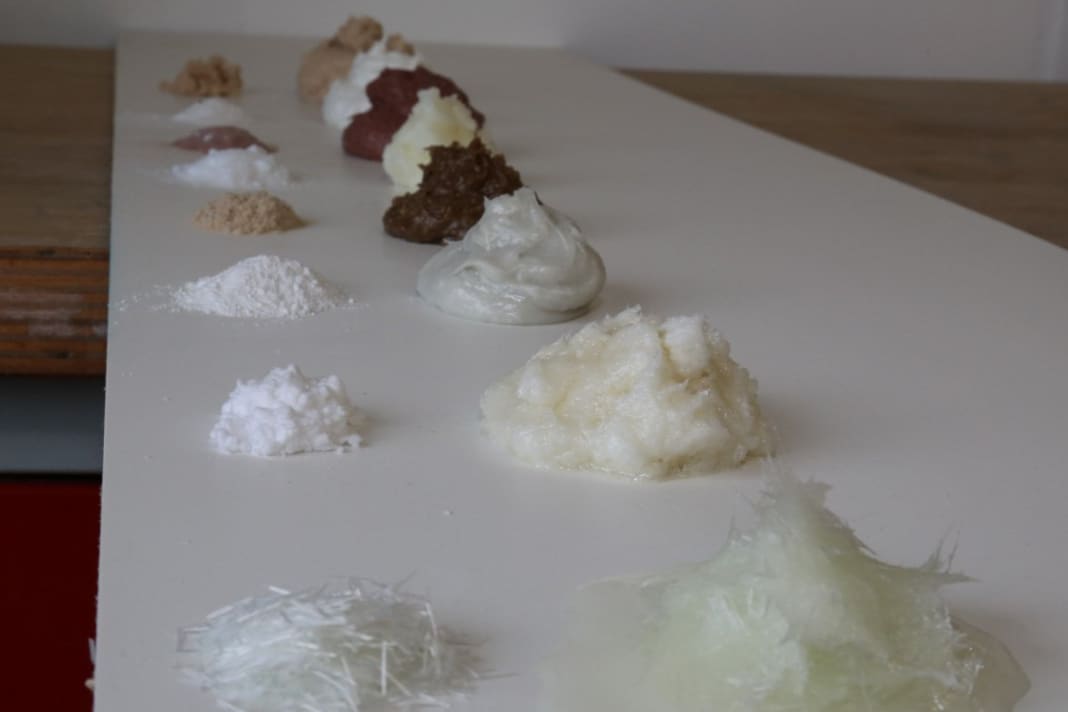
Depending on the application, it may be necessary to thicken the resin so that it does not run out of the bonding surface. This property of the epoxy resin can be easily changed with the right additives. Silica powder is used most frequently. It changes the flow behaviour of the resin, or more precisely its thixotropy. As long as the mixture is stirred, it remains creamy; once at rest, the tiny silica particles become entangled and the resin no longer runs away.
In addition to pure silica, combinations with other additives are common. For example, cotton fibres for bonding or phenolic resin beads as a levelling compound. Careful mixing is important with such combinations. The consistency depends largely on whether the silica content, which tends to clump, is well distributed.
Colouring the resin with pigments is also possible, whereby graphite powder is particularly interesting here: it improves the UV resistance, the sliding properties and ensures good abrasion resistance. The addition of barrier filler is recommended for underwater coatings, as this increases the water resistance of the resin.


Coating wood
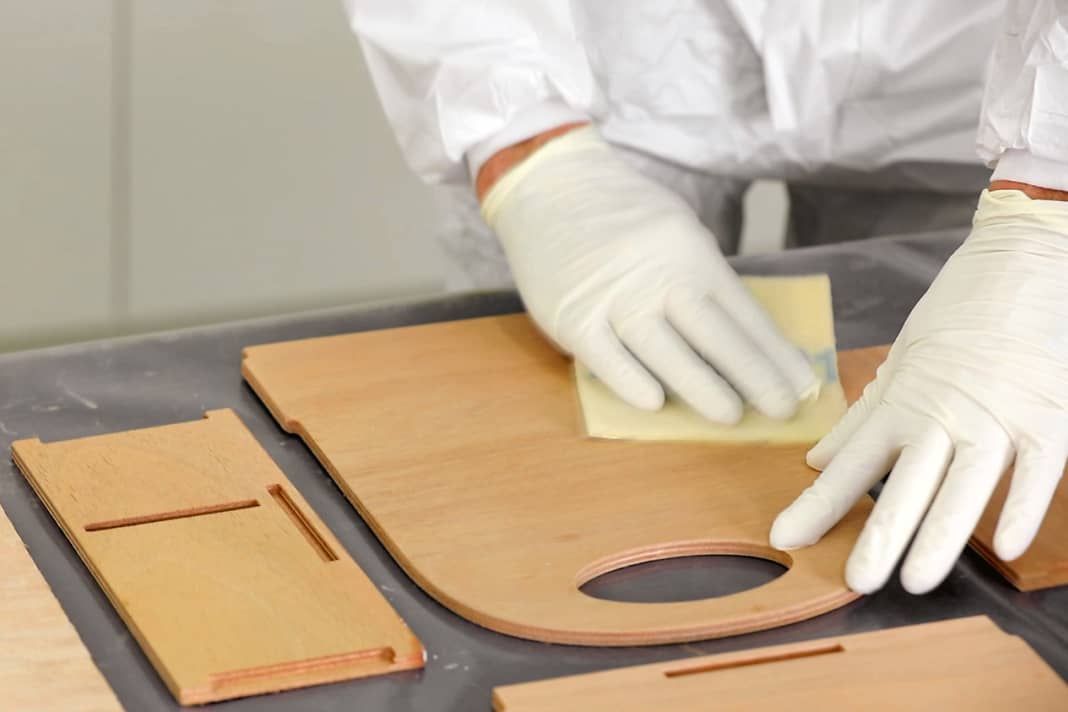
Coating wood is visually appealing and creates an extremely robust surface. The resin serves as a primer. This has several advantages: Firstly, the wood is very effectively protected from moisture and scratches, and the resin no longer shrinks once it has hardened, so the primer does not sag even after years and the surface remains even.
When working with the wet-on-stick method, the entire primer coat can be applied in just one day. Working wet on sticky means that the next layer is applied as soon as the substrate has hardened to such an extent that the finger test still leaves an impression, but no more material sticks to the glove. In this state, the layers chemically bond together, creating the best possible molecular bond without the need for intermediate sanding. Incidentally, this method works just as well for laminating as it does for gluing.
As a comparatively thick layer is applied when priming with epoxy resin, a beautiful depth effect is created when clear lacquering is subsequently applied. Sealing with a two-component lacquer is absolutely essential here, as the only weak point of epoxy resin is its low UV resistance. Without the lacquer coating, the epoxy coating would turn a strong yellow colour after just a few years in the sun.


Bonding with coving
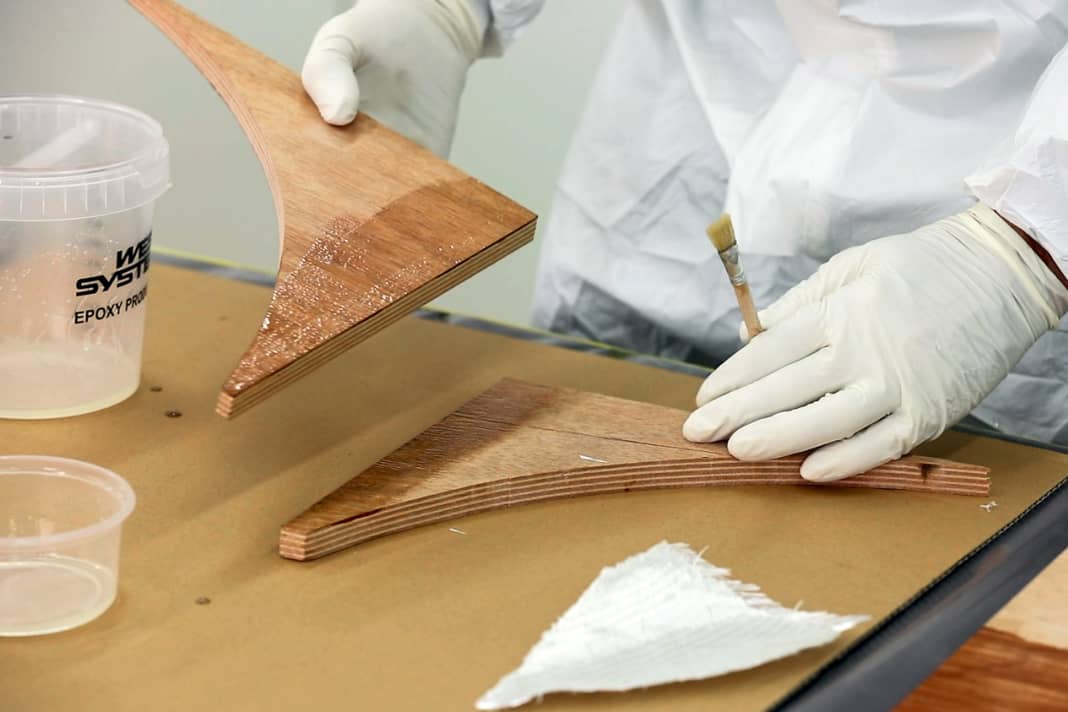
If two surfaces are to be bonded together, the adhesive strength of the resin alone at the joint surfaces is usually not sufficient. Examples of applications include fixtures of all kinds or reinforcements. As soon as shear forces act on such a joint, the joint could crack. The aim of bonding with a fillet plus subsequent lamination is therefore to increase the bonding surface and additionally reinforce the joint by means of lamination.


Seal holes
Hardly any owner likes sawing or drilling holes in their boat. Not only because they represent potential leaks, but also because the question arises: What happens to the cut-out if the component, such as a defective log transducer or a display instrument that is no longer needed, is to be removed again?
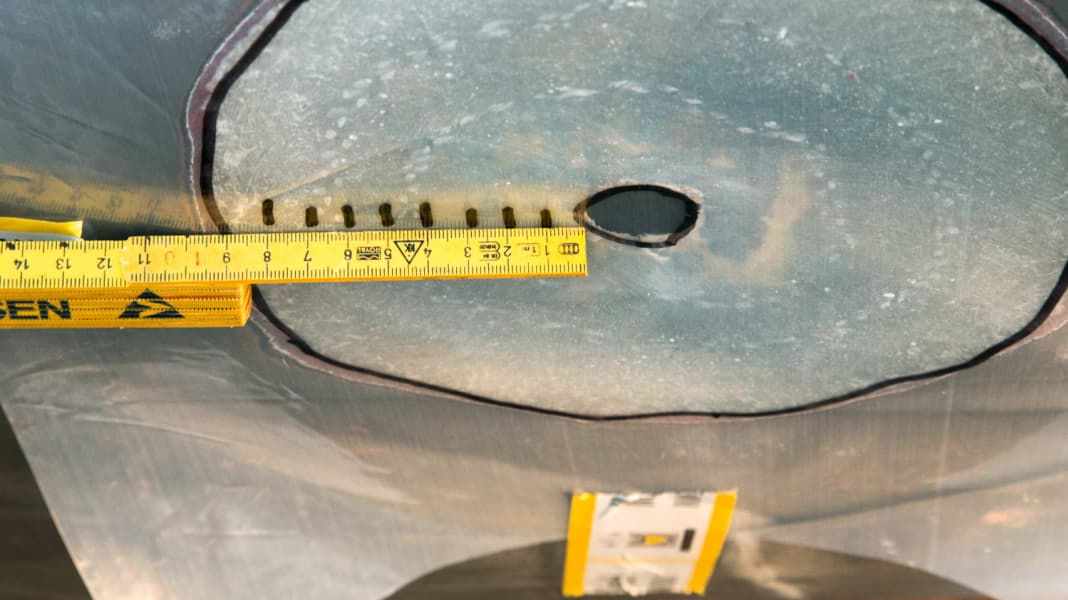
The procedure for sealing a hole depends on the size of the opening and its position in the fuselage. For a small screw hole in the deck or cockpit, it is usually sufficient to fill the hole with thickened epoxy resin. To do this, the hole is cleaned out with a slightly larger drill and the opening is widened into a cone shape with a countersink. The resin thickened with high-density filler is then placed in the hole with a syringe and the repair is allowed to harden.
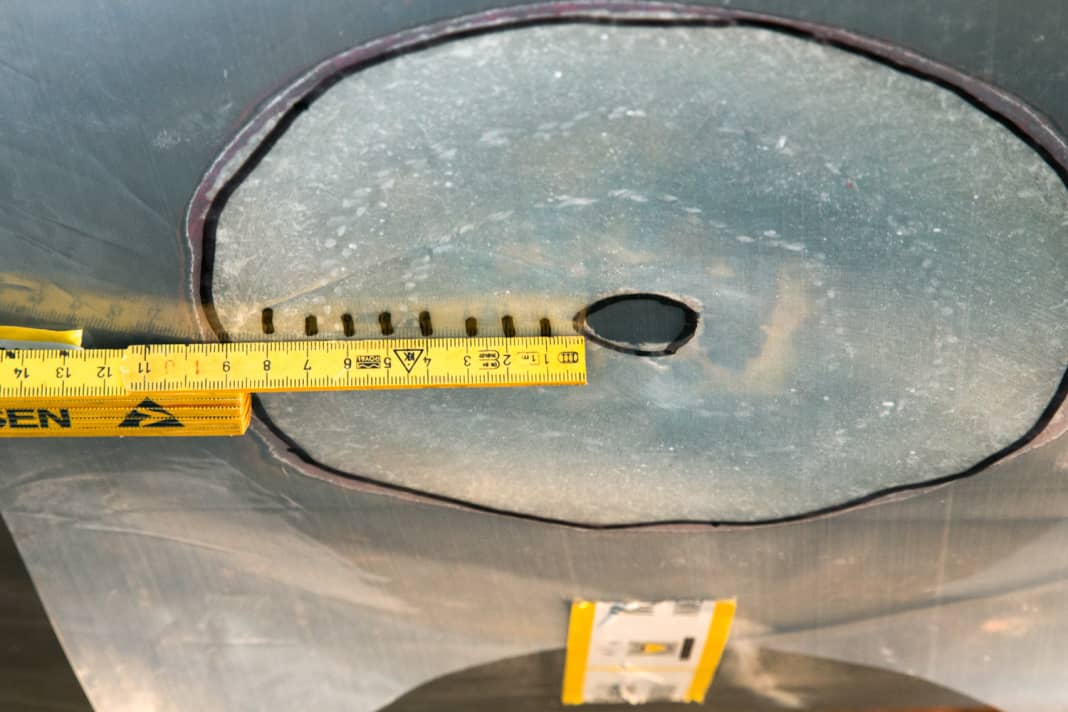
Larger openings, such as through-holes in the underwater hull, are much more complex - after all, the consequences of an unsuccessful repair can be assessed differently. In the first case, moisture may penetrate the core material or drip through the deck. Annoying enough. However, if the repair fails under water, even the buoyancy of the boat and therefore the lives of the crew are at risk.


Further application examples can be found in part 4:
The videos of the series:
Part 1: Laminating, repairing, bonding or coating ... Many things are possible with epoxy resin. We therefore spent a few days at Von der Linden GmbH in the workroom and asked Helge von der Linden everything we ever wanted to know about this miracle resin. In the first part of our new series, we start with the basics and then Helge shows us how to coat wooden surfaces with epoxy resin. A complete free workshop for all owners!
Part 2: The second part of our epoxy guide series is about the frequently used ability of epoxy resin: laminating. Whether it's repairing holes in GRP or tightening loose bulkheads - after this video tutorial, anyone can draw fillets and laminate!
Part 3: The third part of our epoxy resin guide series at BOOTE tv is all about fillers and repairing carbon fibre and soft GRP decks. With this knowledge, anyone can lend a hand, because working with epoxy resin is not rocket science. Expert Helge von der Linden shows the repairs step by step.
Part 4: After coating, repairing and laminating, the last part is about filling. This type of repair is particularly necessary for minor damage to the GRP. Helge also shows us his favourite use of epoxy: gluing in fittings. We tested the forces up to which something like this really holds.
