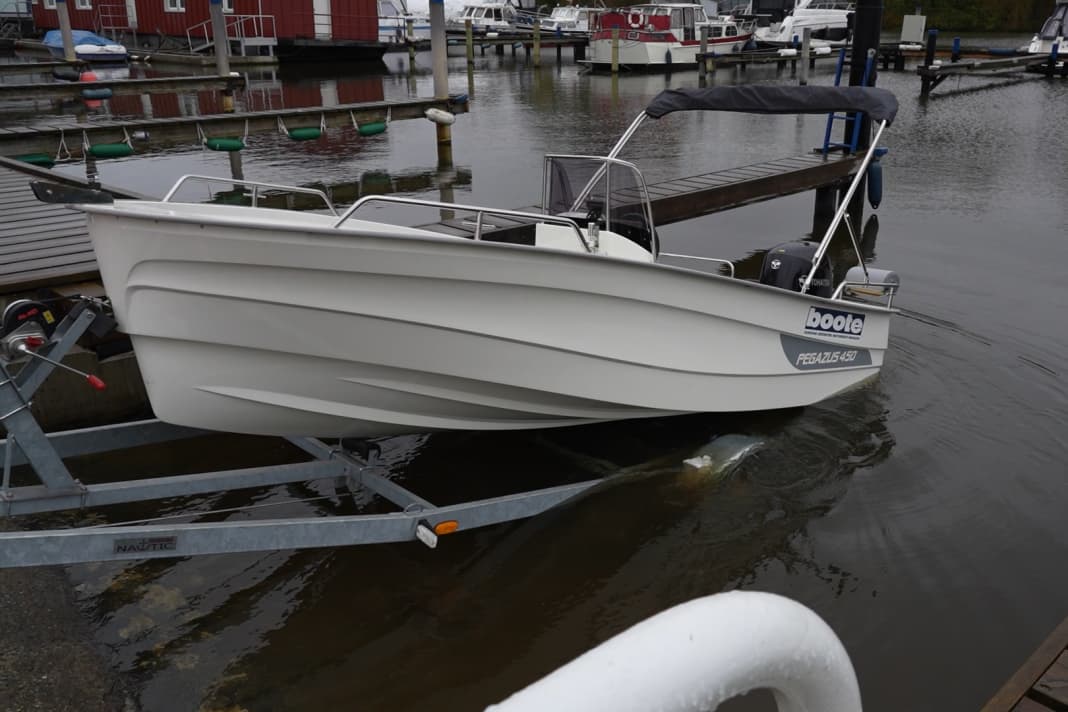
Pimp-my-Boat-Special: Anti-fouling protection for the Pegazus 450 - applying antifouling
Jan-Ole Puls
· 04.12.2023


In this special:
- How to embellish the console boat
- Pegazus 450 - how we clean our craft boat
- Anti-fouling protection for the Pegazus 450 - Apply antifouling
- How the foredeck of the Pegazus 450 becomes a cabin
You first need to understand the term fouling. Put simply, it is microorganisms, plants or animals that colonise the hull. This is called fouling. The adhering organisms increase the flow resistance of the boat, which leads to slower travelling and higher fuel consumption. To prevent this, hulls are treated with anti-fouling paints to prevent the build-up of fouling. But can you just buy paint and get on with it? As with so many things in life, it's not that simple. Firstly, we need to know where we want to coat the hull.
Marking the floating waterline of the Pegazus 450
We made it easy for ourselves and launched the Pegazus. Where the boat now floats when empty would be the construction waterline (KWL). However, the KWL is only the floating line on which the boat floats without load and equipment. If you now load the boat with a full tank, cushions and everything you want to have on board, plus of course the maximum number of people, you get the waterline (SWL), which is important for us. On the Pegazus, we worked with sandbags, which we distributed in the forecastle boxes to simulate equipment and people.
When the boat is floating in the water, we can use a waterproof pencil to mark where the water meets the hull, which is the SWL. We made a mark every 30 to 50 centimetres. It is important to have smooth water, otherwise marking errors can occur. Once we have done this, the 450 can be taken out of the water again. Now let the hull dry.
Connect dots for antifouling
Back on land and in the hall, the dots have to be connected. To ensure that we coat enough of the hull surface and thus optimally protect the hull from fouling, we raise the dots by around four centimetres. We use adhesive tape to connect the markings. With a little skill, draw a straight line across the hull. If you are not satisfied with the result, you can remove the tape and try again. If you miss a line by a few millimetres, it's not so bad.
The next step is to sand the fuselage. We used a Makita random orbit sander and worked with 80-grit paper. The entire underwater hull up to the tape is now sanded. When everything looks matt and has been cleaned (isopropanol or acetone), you can almost start painting. First, however, with a two-component epoxy primer. This improves the adhesion of the antifouling and at the same time prevents osmosis. Five coats are recommended for the F18 product we use. Here you should work according to the instructions for use. A small brush helps to colour the edges optimally. The rest can be easily painted with the 10 centimetre wide roller. We use a suitable paint tray to store the paint. The waiting time between each coat is eight hours at 20 degrees. If you wait longer, you can extend the overcoating time to up to five days. The entire primer must then be sanded down.
After the layers comes the antifouling
Once all coats have been applied and the surface is free of runners, the actual antifouling coating can begin. Here, too, we work with a brush and roller. A little tip: If you have runners in the primer, you can simply sand them down by hand. This will make the antifouling look better later and the hull will be smoother. You should also apply at least two coats of antifouling and an extra coat on the waterline (around 20 centimetres wide between the SWL and hull), keel and any rudder. The waiting time between coats is around 30 minutes. Once this is done, the adhesive tape can be removed and you are finished. After an hour, the paint is dry enough for the boat to be launched. All products used cannot be used below five degrees outside temperature.
This article is part of the Pimp-my-Boat special. All contents:
- How to embellish the console boat
- Pegazus 450 - how we clean our craft boat
- Anti-fouling protection for the Pegazus 450 - Apply antifouling
- The foredeck of the Pegazus 450 becomes a cabin

Jan-Ole Puls
Editor Test & Technology
Ole Puls was born in Schleswig in 1999. He quickly swapped the football pitch for the Schlei and grew up sailing a wide variety of dinghies and tall ships. From his grandfather's self-built wooden opti and a Europe to a 49er and an X362 Sport, there was a lot to choose from. After leaving school, Puls decided to train as a boat builder at the high-tech shipyard Knierim Yachtbau in Kiel in 2016. He successfully completed his training in 2020 and stayed at the shipyard as a bachelor. In 2022, he decided not only to build boats, but also to test them. Since then, he has been working for Delius Klasing Verlag in the Test & Technology section of BOOTE magazine. The training he received and the eye for detail and quality of workmanship he acquired help him immensely today. Even though he is a regatta sailor with heart and soul, he feels right at home on motorboats and enjoys separating his professional and private lives and yet combining them. Because we all know one thing: there is simply no better place to be than on the water.

