

In this article:
The transoms of old plastic boats are rarely a feast for the eyes. Aging gelcoat, discolouration from exhaust fumes and intense sunlight, as well as scratches and damage, are the order of the day. And the design in the 70s, 80s and 90s was usually anything but pleasing. Straight, high-sided transoms were technically easy to realise in boatbuilding and were certainly reassuring in high aft seas. However, they cannot compete with the sophisticated shapes and colour schemes of today's modern boats. So what to do when a necessary renovation is due?
Painting or foiling?
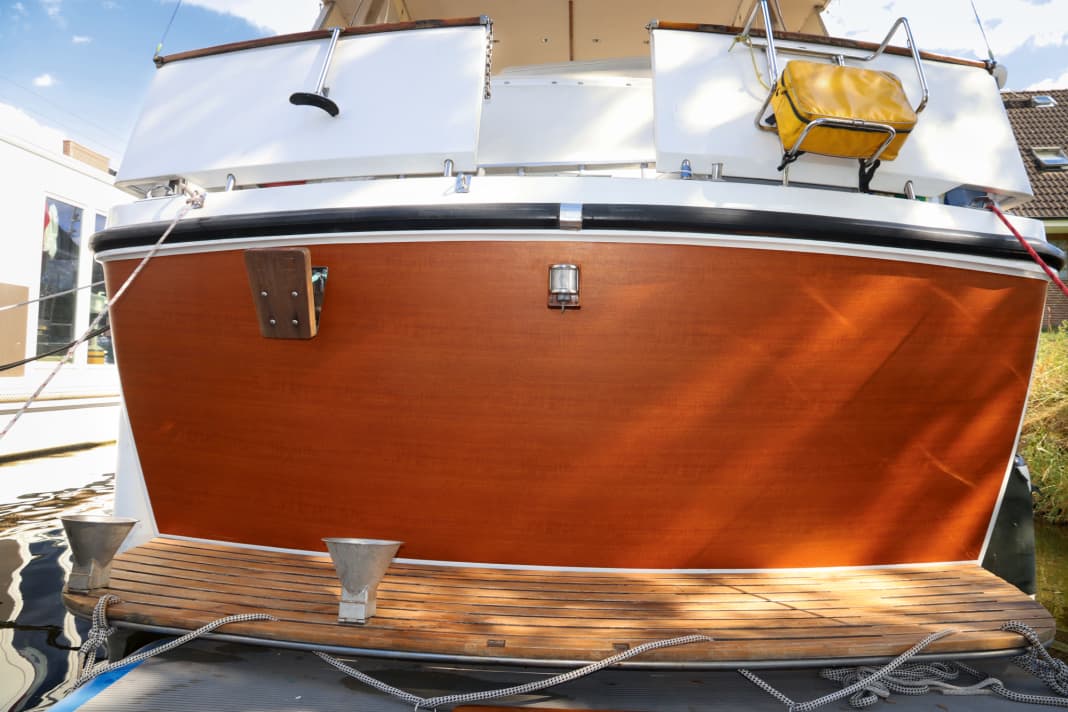
From a technical point of view, classic painting is certainly a good solution and can be done by any yacht painter in just a few days. However, it only helps the overall impression of the boat to a limited extent. Even decorative strips, such as those found on our boat, do not help. We therefore opted for a different solution when refurbishing the transom of our 45-year-old Ancora 41: a wood-effect film finish. GRP purists may consider this an outrage, but beauty is in the eye of the beholder. What's more, the effort and cost (around 1200 euros) are roughly the same as painting. Depending on local conditions, foiling - as in our case - can also take place in the water, which is hardly possible with a paint job and saves additional slip costs.
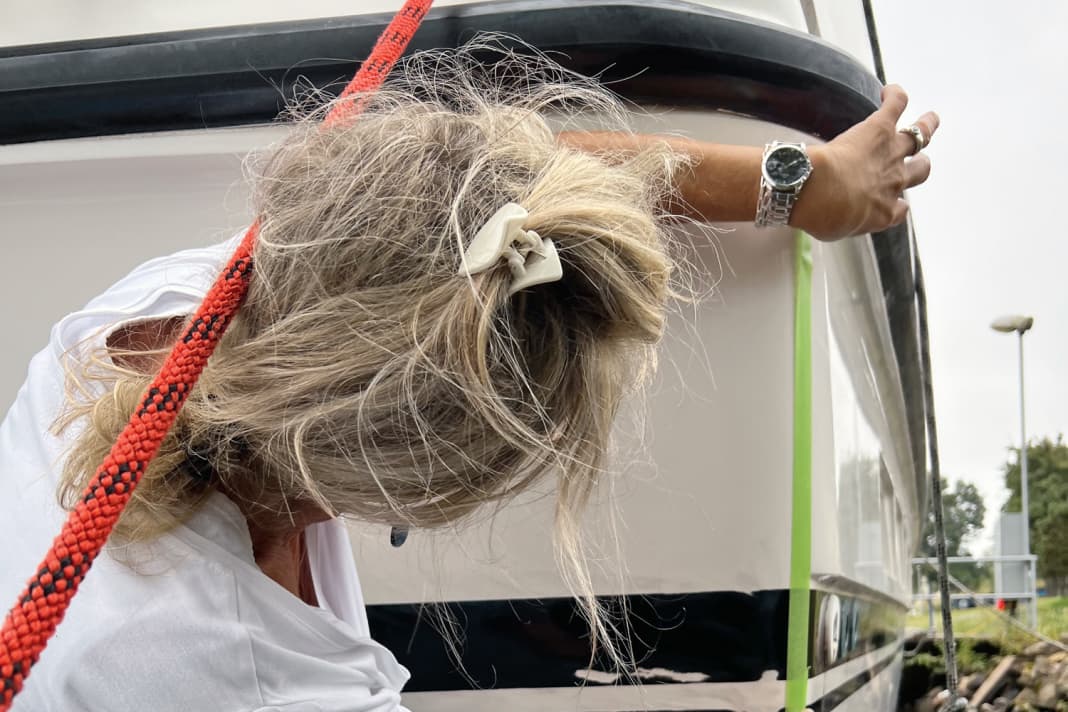
Specialist knowledge should always be used for the selection, procurement and processing of the film. Large-scale wrapping is not for beginners. Specialised tools are not necessary, but a certain amount of experience is. If in doubt, such work should be carried out by a professional. In our case, we were supported by film wrapping professionals Birgit Schmitz.
Preparation of the foiling:


Foiling step by step:


