Moisture has penetrated the gluing of the individual veneers and has damaged the originally stable plywood.totally rotten leave. What looks neat from the outside is at best only suitable for horticulture.
The dilapidated mirror will certainly no longer support a powerful engine plus Z-drive. The only solution to the problem is a retread. If you want to know what your transom looks like on the inside, you can borrow a measuring device from M. u. H. von der Linden, which shows on an LED traffic light (red, yellow, green) whether and how much moisture is in the sandwich (GRP laminate outside, plywood inside) of the transom.
There's no such thing as impossible.
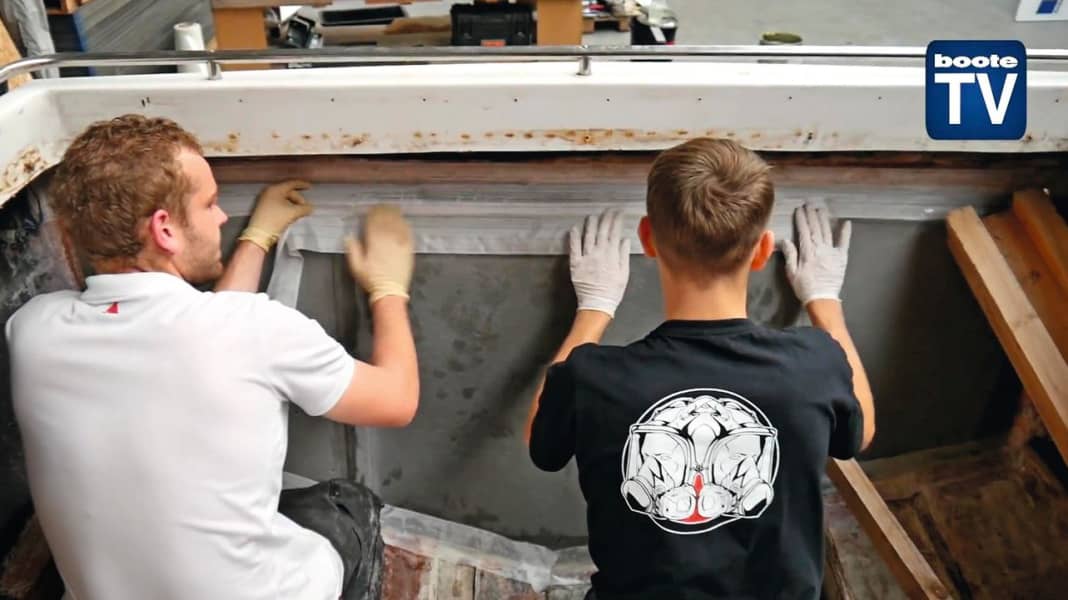
If in doubt, the experts from Wesel also come on board with their equipment. Before they really get down to business, they have to clear the ship. This means carefully sanding the inside of the mirror and then vacuuming up the sanding dust. After cleaning, the entire surface is covered with a film using adhesive tape.
It is important that the film lies flat without creases. If everything is correct, draw the outline of the mirror on the film with a felt-tip pen, which is then used as a template when cutting the "mirror plates".
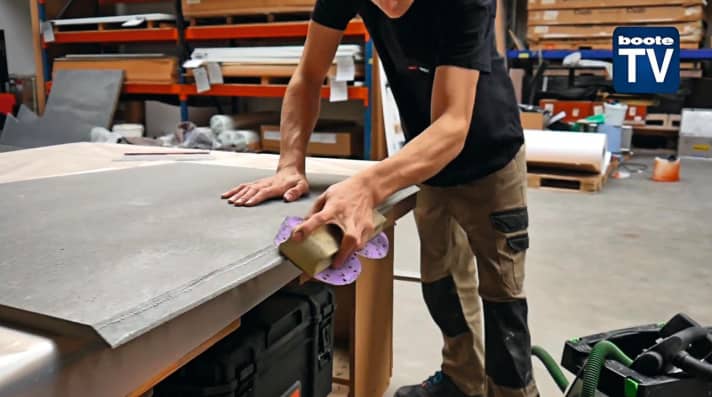
Please note: Coosa composite panels from the Bluewater series are made from a polyurethane foam filled with continuous glass fibres and additionally reinforced with glass roving fabric After cutting to size with a jigsaw, band saw or circular saw, the panels are fitted into the boat and then all edges are carefully rounded off.

If everything fits and is correct, there will be no problems with the final lamination. A tip: First-class sandpaper such as Cubitron from 3m makes the work easier, delivers perfect results and, thanks to its durability, is ultimately no more expensive than paper from the DIY store.

We process the Coosa panels in three layers. The reason: "thin" panels adapt better to the shape of the mirror. This means that any air trapped during bonding can escape completely through the holes we drill in the panels.
Important: Because neither of the two will harden on its own, always mix the two well together (2:1) when bonding with epoxy adhesive resin and hardener. Equally important: Always use a notched trowel when applying the adhesive.
The grooves that are inevitably created in the process act like a small vacuum pump. This allows air to escape completely and improves the bond. With a normal trowel, you "float" over the panels and inevitably incorporate air. This also results in different layer thicknesses.
Once everything has been glued and levelled, the last layer is to cover all visible gluing points with a peel ply. The latter protects against dirt and absorbs the red colour that develops during curing (at least 24 hours). After tearing off, you have a rough surface that does not have to be sanded before the next work step.

Our boat transom has a curvature in its shape that cannot be levelled out with the notched trowel alone. We therefore screw square timbers to the inside of the transom and press the Coosa panels firmly onto the laminate of the transom.
This ensures that the "sandwich" is glued bombproof. Once the wood has hardened, it is put away again and awaits its next use on the shelf.
