The routine handling of the various lines on board is part of basic seamanship and is primarily a safety aspect. A tangled line can be annoying and untangling it can be bothersome and time-consuming. However, if ropes are unclear in certain crucial situations, the worst that can happen is damage to material and people - for example, if a line in the lock can't be lowered on the way down because kinks have formed and are blocking the cleat. You can then pull as hard as you like while the boat slowly hangs up.
Or during harbour manoeuvres: When casting off, it is often the case that a mooring line laid on a slip has to be hauled in last. However, if it gets stuck on a ring or cleat on the jetty because of a kink or even a knot, the best manoeuvre is a waste of time.
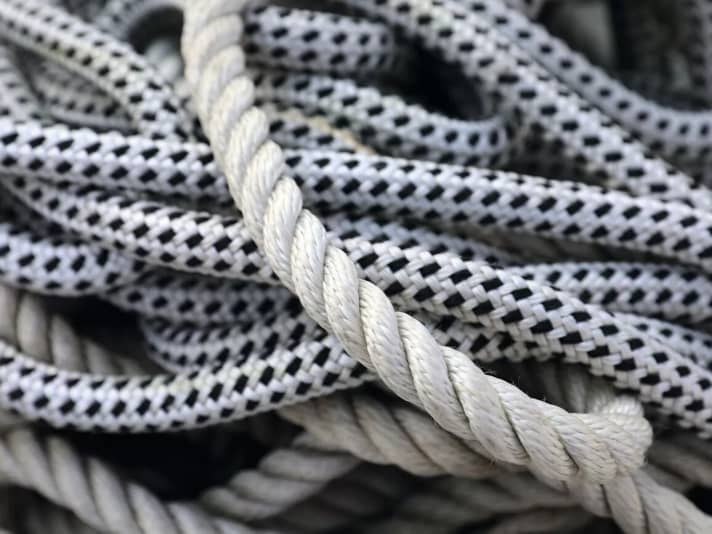
The reason why these "confusions" still happen today with modern ropes is probably - as in other areas of seamanship - because traditional knowledge is passed on that no longer necessarily fits in with changing circumstances. For example, everyone has probably learnt at some point that an upswept bundle of lines is only beautiful and correct if all the bays are evenly spaced out and lie next to each other. This is also true for laid ropes. If, on the other hand, modern braided ropes are shot in the same way, the rope turns in once with each bight and the dreaded kink formation is guaranteed.
Correct shooting
The aim of stowing lines is to keep them ready for use. This means either stowing them away so that they can be deployed in a few simple steps. Or to prepare them directly before use so that they can be deployed smoothly. The problems with handling lines are always the same.
Either the line bundle is a so-called "Wuhling", a tangled ball, in the worst case even with knots, where there would be no chance of pulling it through a fitting, throwing it or using it sensibly at all. Or the lead may look neat and tidy, but mistakes have been made, which can lead to the formation of kinks. In this case, the line would jam on a cleat, which can lead to dangerous situations during the manoeuvre.
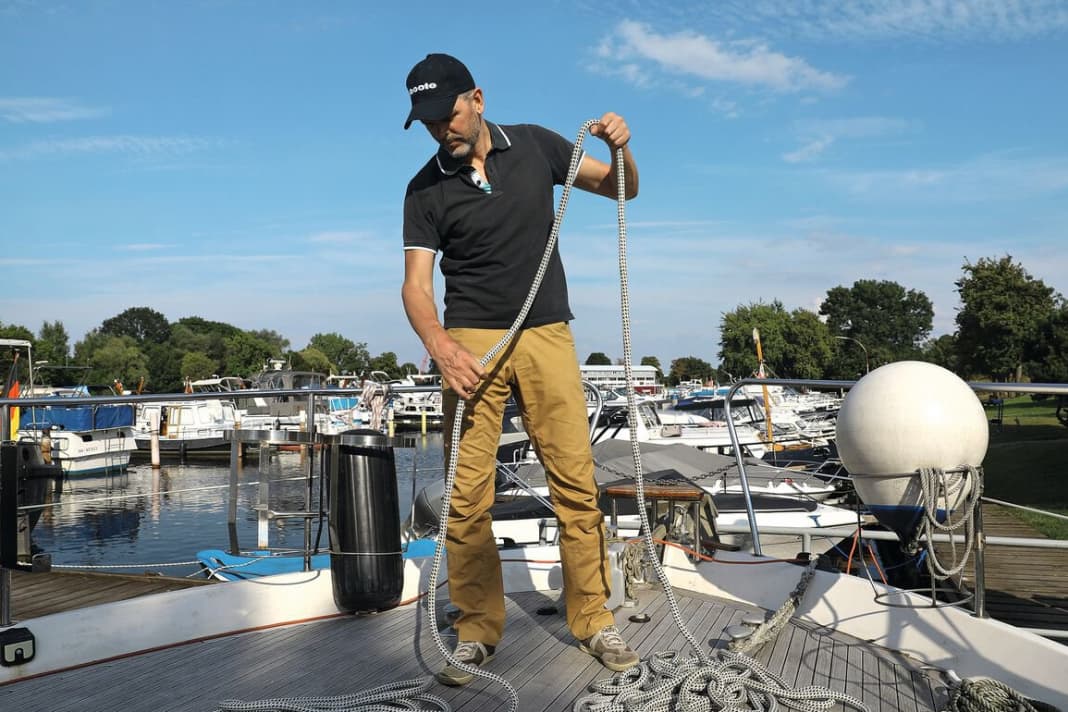
Before a line is shot, it must always be cleared up to its full length by running it through the hand. This will reveal any wuhlings or knots. In order to obtain equally large bays when shooting, you should always proceed with the same arm distance, in this case with the arm stretched out to the chest. The shorter this distance is chosen, the smaller the bays will be. If the line is very long and the bays are too small, the bundle can become too thick for one hand and can then no longer be secured properly. In this case, a greater distance with larger bays must be used, as in the third picture with arms outstretched on both sides.
Instructions in pictures


Alternating blow
This method guarantees a notch-free ruffle and also creates a beautiful waistband with even bays. However, it does require some practice. The cordage is twisted alternately. The straight bight is given a half turn to the outside, away from the body, before it is gripped and fixed with the holding hand. For the next bight, turn the working hand outwards, grab the line and turn the hand back again. The loose part comes to rest inside the bight. Continue alternating like this.
Instructions in pictures


Shoot in eights
A good alternative to the method shown above for braided ropes is to lay figure eights alternately. Although it doesn't usually produce such a nice bunch, as the lengths of the bays are more difficult to hit precisely, the method is very easy to learn: In the holding hand, in this case the left hand, alternating bights are always laid forwards and backwards with the working hand. It is important that the bends in the holding hand cross each time. This creates figure eights, each of which has an opposite rotation and comes out without a kink.
Instructions in pictures


Linen tips
- Each line is cleared before use
- The larger the bays are, the fewer kinks will form
- For very long lines, you can wear gloves to reduce the frictional heat when running through the line
Secure to the railing
There are a number of ways to secure the shot-up collar, which are now shown. For example, you can hang it on the railing. This method is particularly suitable for excess line length that is not needed. Otherwise, this cordage would lie on deck and not be able to dry out, which is often accompanied by unsightly algae formation. Or it would have to be pulled across into the cockpit and stowed there, creating tripping hazards. This method is sometimes described as unseaworthy, as the safety catch on the railing can come loose in heavy swells or cause wobbles. However, it is very easy to learn, quick to apply and should only be used when leaving the boat in harbour, i.e. not while underway. Before manoeuvring in the harbour, however, it is essential to clear the lines. But this applies to all lines anyway.
Instructions in pictures


Hang up the waistband
This is one of the most common methods of securing a shot fret. For the sake of clarity, only simple bights have been used here; however, this and all other methods are suitable for any type of waistband, whether figure eights or bights. Keep about two bight lengths of the loose part and use this longer bight to go around the waistband from bottom to top. This guarantees that not only the waistband is held together, but that the loose part is pinched by itself. After three to four wraps, push one eye of the loose part through the waistband. Pull the eyelet all the way through the waistband. Make sure that the fixed end of the loose part - i.e. the one that goes into the windings - remains tight. Now pull the loose end of the loose part, which is hanging freely, through the eyelet.
Pull the loose part to tighten the eye and pinch it at the top of the waistband. The waistband can now be stowed away and can also be hung up very easily. However, the coil would be too large for attaching a mooring end to the sea railing and part of the cordage would be lying on deck. The waistband secured in this way can also be easily stowed in the forecastle locker.
Instructions in pictures


Lay eights on deck
With very long lines, shooting up by hand no longer works, as the coil quickly becomes too big to grip well - and often too heavy. But even then, you can lay alternate eights, only on deck, not in your hand. If the bundle is small enough, it can be secured, for example to the railing.
Instructions in pictures


Linen tips
- Braided cordage is best shot with alternating twists on
- Alternating figure eights also help to avoid kinks
- Twisted ropes are always twisted in one direction
- You can counteract the rotation when shooting upwards
Quick and easy
This method is well-suited for unhooking the waistband, but not so much for stowing away. As the securing device is quite simple, it can come loose when it moves, for example when there are waves. A bight is taken from the waistband, or a double bight if the waistband is very thick. In return, you drop a bight. This bight is then run once around the collar and then pushed through the top before being pulled tightly through the entire length. The waistband can now be hung from the bight.
Instructions in pictures


Rigged cordage

The direction of rotation of laid cordage is easy to determine: In one direction, the carding elements, i.e. the individual strands, remain close together; in the other direction, they can be untwisted slightly so that they are more airy. When shooting, you can untwist each bay slightly. If the left hand is holding the rope, it is usually untwisted to the left. This removes the twist from the cordage that is caused by the shooting.
Cast lines single-handed
There are usually two aims when throwing lines: Either a line is to be thrown to another person to create a kind of one-way connection, for example when approaching a jetty or pier. Or you want to throw a line over a pile or bollard, for example, in order to create a shore connection via a mooring line.
With the latter method, it would actually be logical to throw an eye, which is created using a bowline, over the pole in cowboy style. However, as this will not usually succeed, it is better to throw the entire line like a single large eye in a controlled manner. This increases the accuracy of the shot enormously. Nevertheless, it is better not to rely on the first cast during a manoeuvre, as it too often fails. The yacht should therefore be securely moored if possible, then you can cast in peace - because you basically have an infinite number of attempts.
With the so-called lasso throw, only one part is thrown. Take the fixed part in your holding hand and let some loose line fall on board. Then shoot the line up a few bays in the throwing hand. Take a swing in the bow with the casting hand, making sure that the line is free and its end is covered. Release all the bays at the same time, just before you reach the direct direction of the pole. The bays unfold in the air and, with their momentum, pull the previously prepared line with them. With a little luck and skill, the bay will wrap itself around the pole.
Instructions in pictures


Cast lines with both hands
his method involves throwing the line with both hands at the same time. This increases the accuracy, but reduces the distance that can be covered, as there is less momentum in the rope than with a one-handed throw. Incidentally, the preparation is the same as for pure line throwing, i.e. when the rope is thrown to another person. In both hands there are then several bays that have been shot up and the loose part is also in the hand that is throwing. This bundle is thrown with force to the person picking it up. The thrown bundle unfolds first, then the bays unwind from the other hand. This allows very long distances of up to two boat lengths or more to be bridged. Another possibility is to throw a thin safety line with a weight to the person and pass a mooring line to them.
When casting with both hands, first shoot a few bays of the casting line and then take an equal number in each hand. Hold the loose part in one hand and secure the fixed part on board. Use both hands to swing the bays backwards past your body, keeping clear of the railing. Forcefully fling both bundles forwards in the direction of the pole, moving your arms slightly outwards at the same time so that one of the bays opens. If successful, pull the line tight.
Instructions in pictures


Linen tips
- You usually manage fewer metres than you think, so don't overdo it
- Don't rely on the throw, it can go wrong
- Secure yourself well to avoid going overboard with momentum

