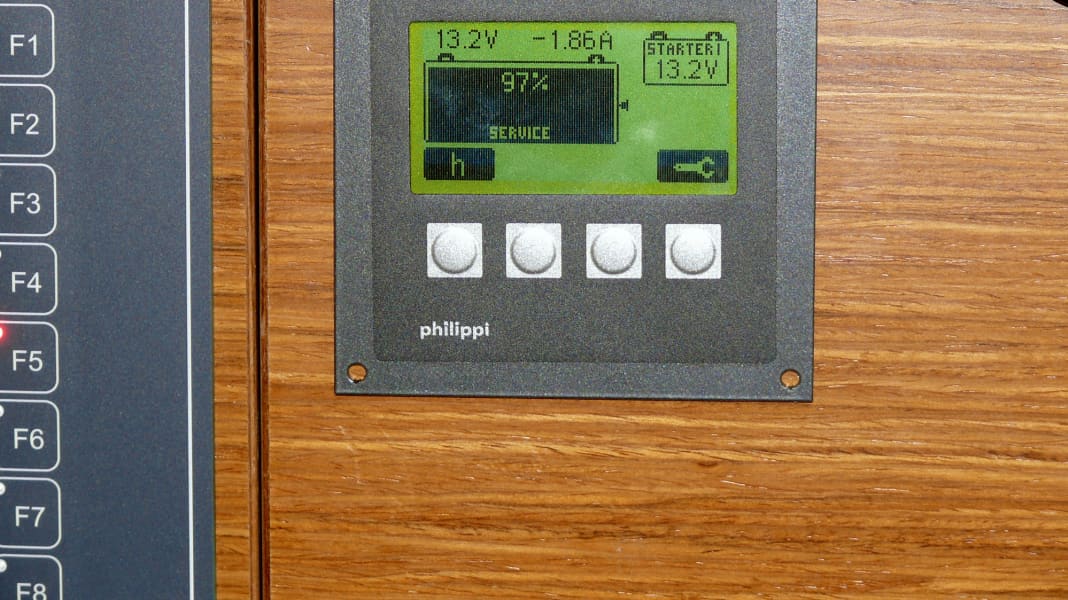
Admittedly: These devices are not cheap. The technology is complex, as it is not possible to directly measure the exact charge status of batteries on board. A tried-and-tested and easy-to-understand method is to measure the content of the battery based on the current flowing in and out. This is exactly what an ampere-hour meter does. Before buying, check whether a conversion to lithium batteries is an option for your boat in the foreseeable future. Not all battery monitors are capable of this technology. The electrical part of the installation is described in detail for all devices of this type. Here is just this much: the system consists of a display and the actual measuring device, the so-called shunt. The latter must be placed directly next to the batteries in order to keep the current-carrying cables as short as possible. A multi-pole cable runs between the shunt and the display; you must use the one belonging to the system. As you can probably guess, finding a route for this cable from the battery compartment to the control panel can quickly become the most time-consuming part of the whole operation and can take a lot of work and time.
Photo instructions to click through:


Installation of a battery monitor
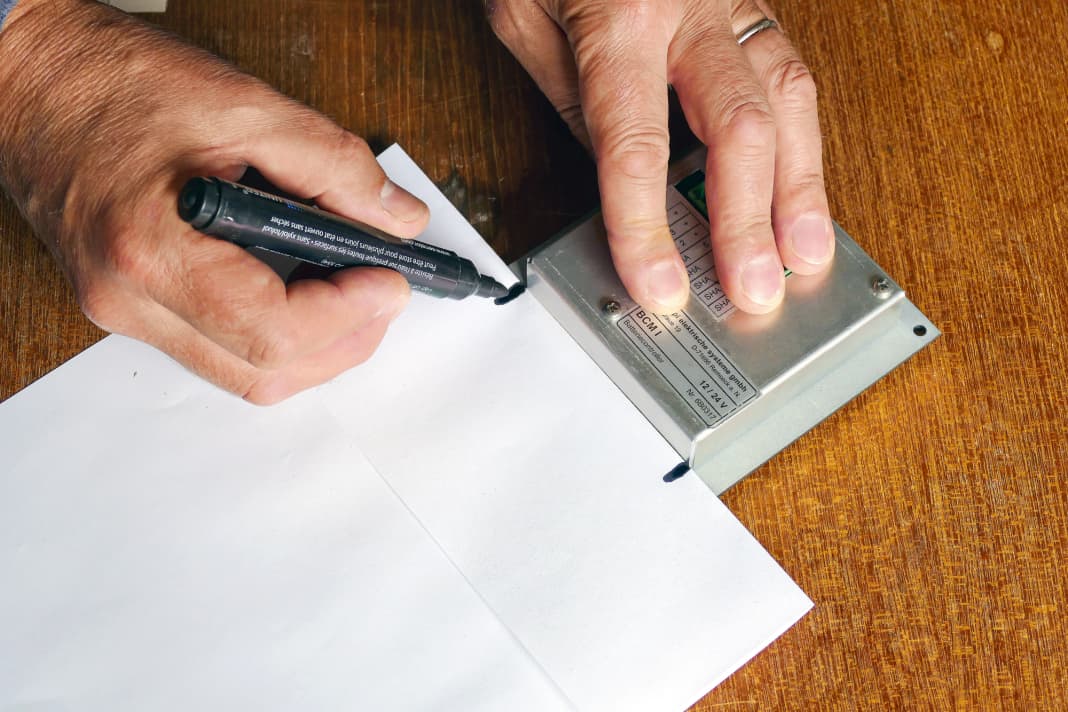
Many manufacturers have a template for the panel cut-out in the manual, but who wants to cut it up? The method shown on the right creates a template from an A4 sheet of paper using standard tools. The trick is to fold it so that you can use the right angles in the paper for your measurements. Veneer tends to splinter when sawing; masking the planned cuts prevents this. In addition, the marking does not end up directly on the wood. If you are working with a jigsaw, drill holes for the saw blade in the four corners. However, we used a vibration saw here. Its blade does not perform a large stroke, the teeth only vibrate in the millimetre range, it can simply plunge into the material. The corners can be approached easily with the straight edge of the saw blade. In addition, the risk of injury with this tool is minimised: thanks to its elasticity, the human skin can follow the small movements of the teeth without tearing.
