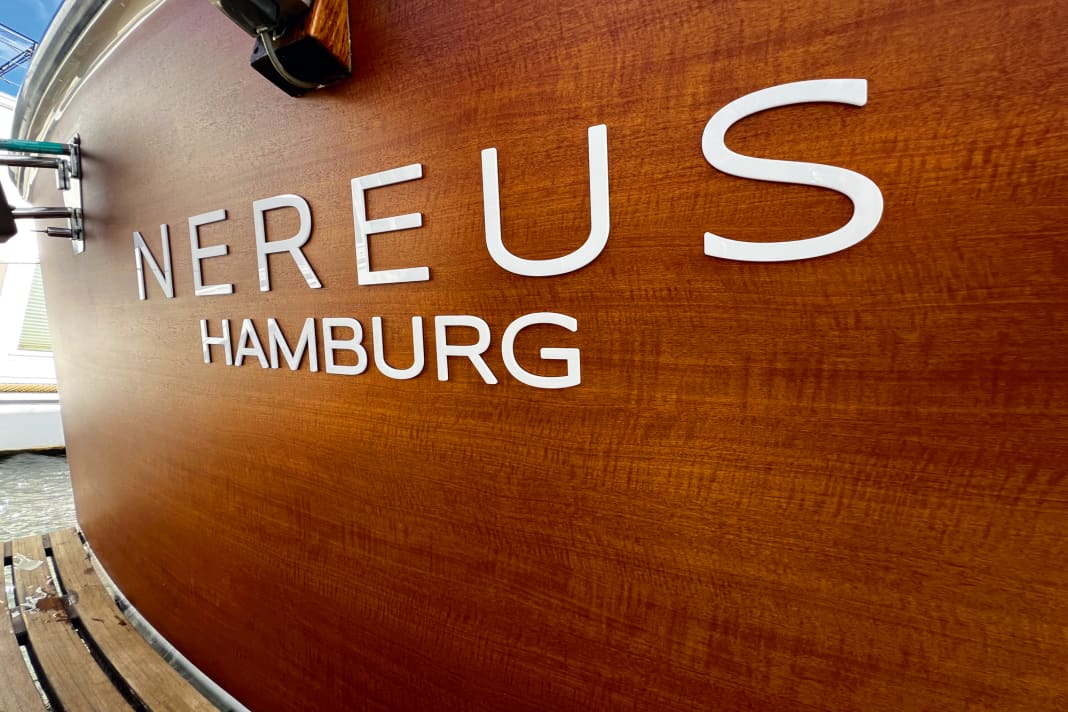


We have already described how to use the Transom of a 45-year-old plastic boat wrapped in wood-look film and thus significantly changed the entire look of the boat. This article is about how to replace the removed lettering and licence plates with new, modern, three-dimensional lettering. Three-dimensional because such lettering significantly enhances the look of the boat and is more durable than classic adhesive lettering.
The first step for 3D boat lettering is to determine the installation location and size. In addition to the visual appearance, the official regulations must of course also be observed. Accordingly, licence plates must have a minimum height of 10 cm and the lettering must be clearly distinguishable from the background. For us, who wanted to label a wood-coloured rear-view mirror, only light-coloured letters of a sufficient size were an option.
The positioning should be centred, so we first measured from the imaginary midship line (mounting location of the stern lantern) to each side. The optimum value for our Ancora 41 was a maximum lettering width of 1100 mm for the name and around 700 mm for the home port.
Boat labelling via the Internet
We then transferred this data to the online configurator of the manufacturer "Boatsign" (www.boatsign.de). This company offers various 3D labelling options in different materials and designs. The range extends from single-layer, solid-coloured acrylic glass to multi-coloured acrylic glass variants and wood or metal decors. Every owner will find what they are looking for among the fonts on offer.
Once the size, font and design - in our case acrylic glass "Abaco white" - had been determined, the relevant online form was filled in, the address details entered and the order sent off. However, the final order is only placed and invoiced after the proof has been approved by the client. To put it plainly: first you only start an enquiry, then you receive the proof by e-mail and can still make changes.
The chargeable order is only placed once these have been completed. The prices depend on the number of letterings, their size and design, so they are very individual.
