Workshop: Teak deck renovation - How to join the joints of your old deck covering
Hauke Schmidt
· 12.05.2023
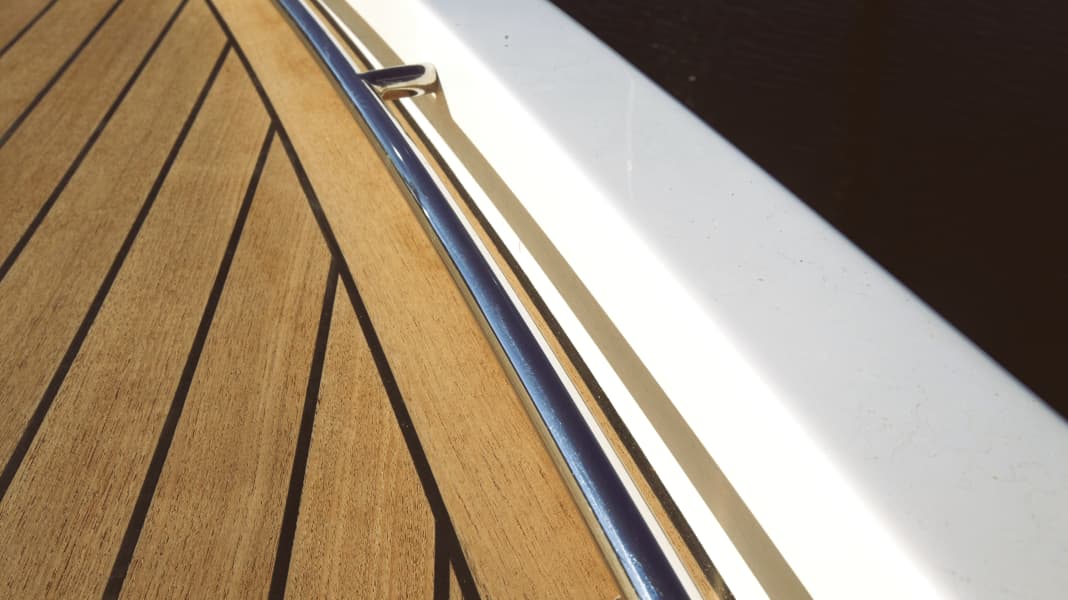
Ship-like, non-slip and elegant - for many, a teak deck is still the epitome of a boat deck. But over the years, this dream can easily turn into a nightmare, as the wooden deck is a wearing part. Its service life depends heavily on the quality of the wood, professional installation and maintenance. But even if everything runs smoothly, a major overhaul is due after 30 years at the latest.
The joints often show signs of disintegration much earlier. Water penetrates and the bars warp, rot from below or are pulled off the deck by the frost in winter. The deck of our 35-year-old workshop building was in a similarly desolate state. The joints were brittle and detached almost everywhere, and the wood was heavily weathered and washed out. The foredeck looked particularly bad. The fish was cracked and individual bars had bulged.
Costs for the teak wood
The first reflex: Everything has to be new! But that would make the boat a total economic loss, because teak is expensive and the installation work takes a lot of boat builder hours. If you order a new teak deck with a thickness of 10 millimetres from a shipyard, you should expect to pay around 2200 euros per square metre. Added to this are the costs for removing the old covering and preparing the surface. If you calculate with the approximately nine square metres of teak deck on our example boat, it quickly becomes clear that a new deck costs significantly more than the entire boat is worth.
So first check what can still be saved. The cracked fish has to be replaced, but the remaining substance is not bad: the bars are still 7 to 8 millimetres thick. A conventional overhaul with flexible joint sealant is still out of the question. Not only would the joints have to be milled out, but all the curved bars would also have to be replaced.
Procedure for refurbishing the teak deck
Subsequent bonding of the teak deck with epoxy promises significantly less effort. This creates a solid unit that is also bonded to the plastic deck. A similar process is used in the construction of regatta yachts. In order to keep the weight increase due to the wooden deck as low as possible, the teak is integrated into the structure of the deck and laid with black-coloured epoxy resin. The matching adhesive is available as an epoxy filler paste from Yachtcare. 500 grams of the UV-resistant substance costs around 30 euros. Eight tins were needed for the deck of our boat. Together with the other consumables such as sandpaper and the flexible joint compound for the transition to the superstructure, the refurbishment cost around 500 euros.
Although the teak deck is not new after the treatment, it should not cause any more problems for the next ten seasons.
Photo instructions for renovating a teak deck
Original state
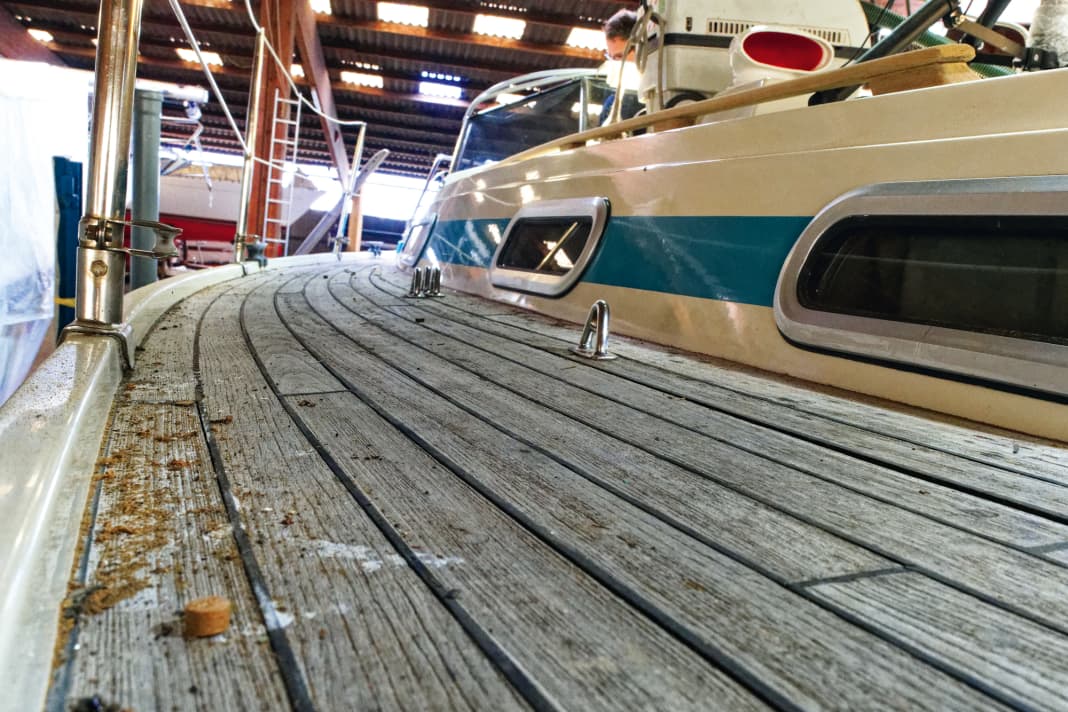


After 35 years, the teak deck is in need of renovation. The joint sealant has torn away and some of the rods have come loose.
1. prepare joints
The remains of the old sealant and the wood are removed down to the plastic deck.


2. levelling the teak deck
The epoxy resin would collect in depressions, they must be sanded away
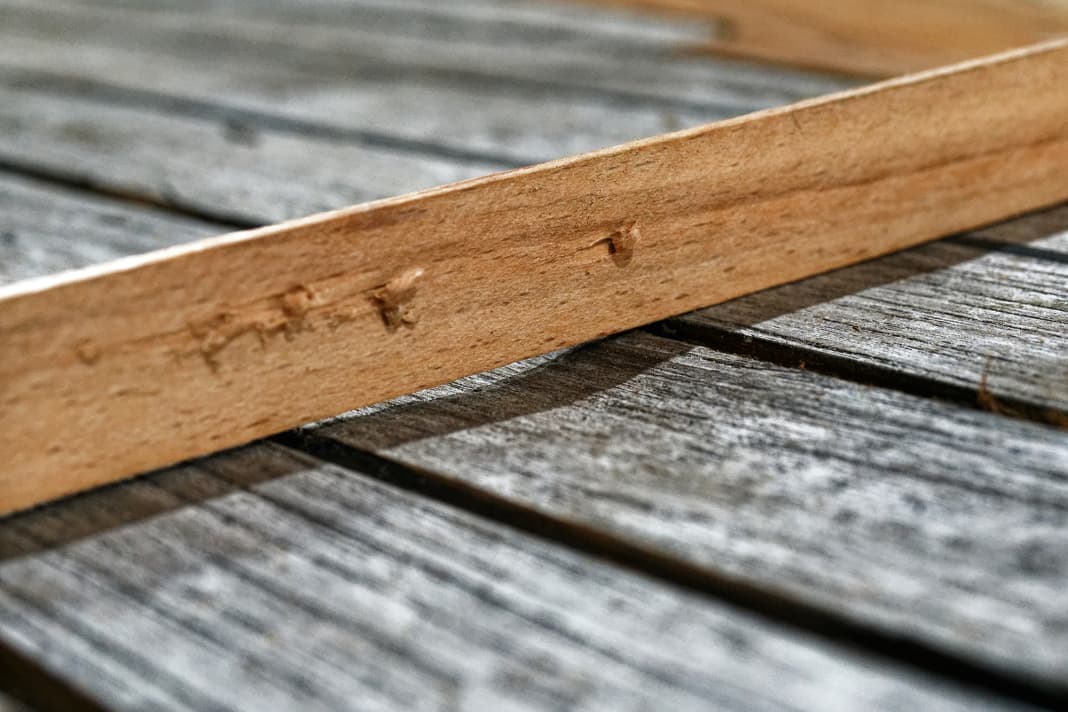


3. filling and sanding
The epoxy paste bonds the rods and GRP to form a solid unit and the deck is sealed again
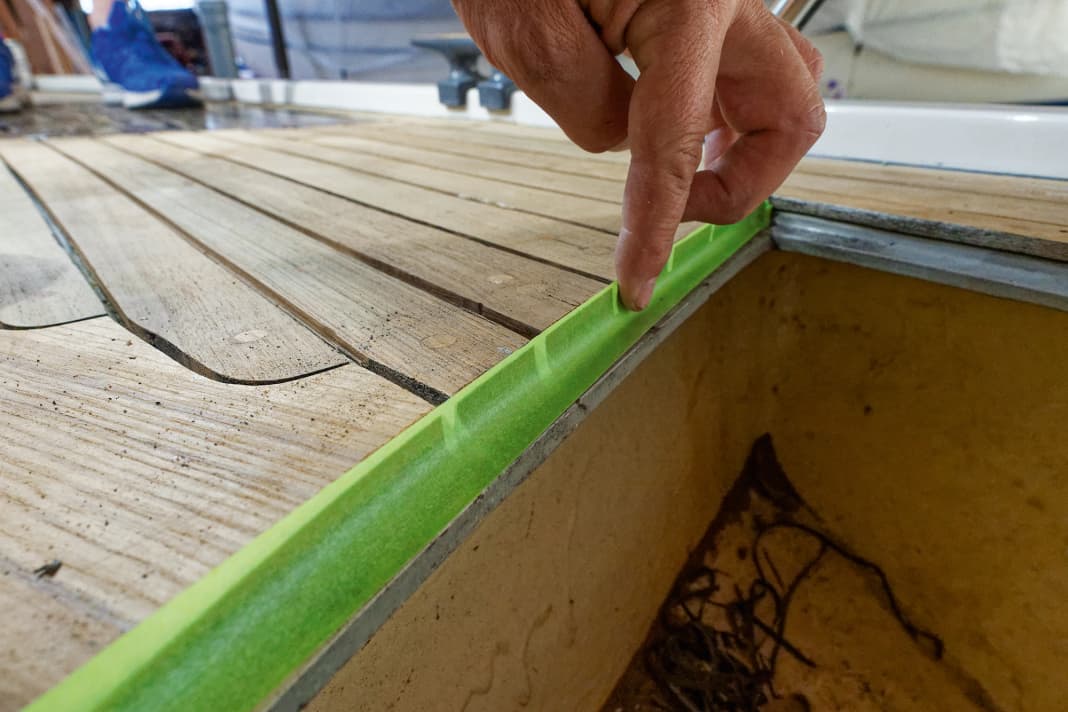


Minor repairs to the teak deck
A major refit is not always necessary. Signs of wear and tear can easily be repaired by yourself. The teak deck will then be fit for many years to come
Cutting joints:
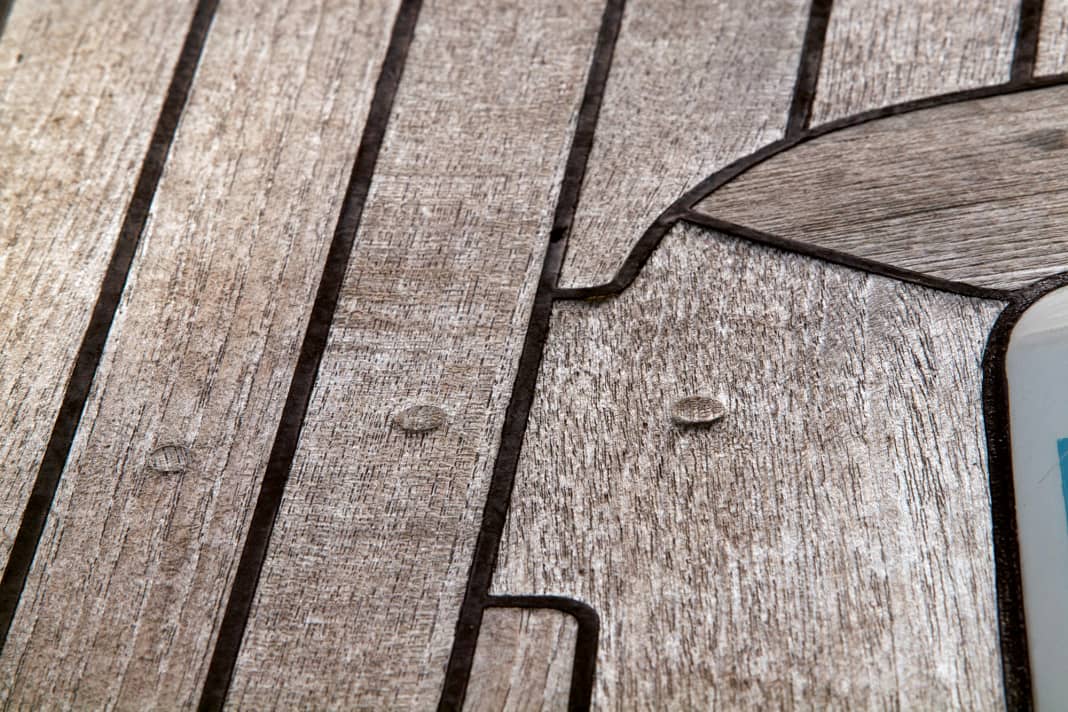


Spot repair:


Beautiful patina on the teak deck
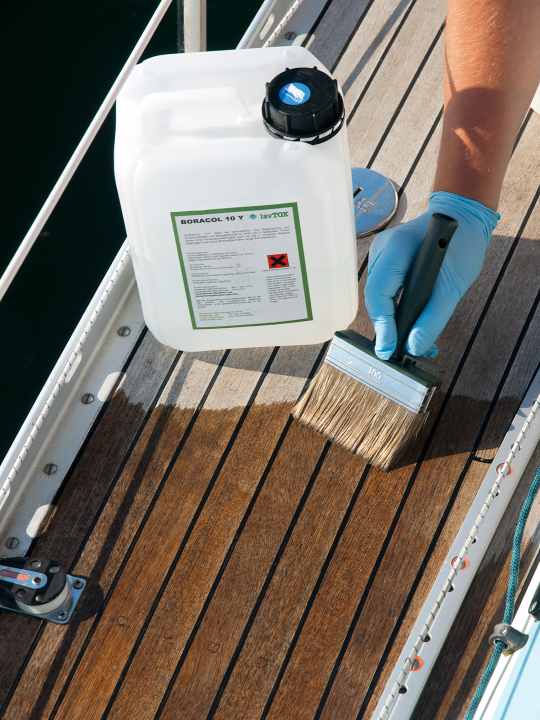
To protect the wood from fungi and algae, treatment with Boracol is recommended. This wood preservative produced by Lavtox (approx. 80 euros/5 litres) does not attack plastics and potting compounds. It is applied generously with a broad brush. After drying, the wood does not show the treatment at first. However, algae and fungi are killed and washed out by weathering over time. The effect is enormous: once applied, the deck becomes lighter from week to week without any further action until it has reached an even silvery colour. Side effect: As algae no longer forms, scrubbing is required much less frequently and the wood does not wear out as quickly.
Also interesting:

Hauke Schmidt
Test & Technology editor
Hauke Schmidt was born in Hanau, Hesse, in 1974, but moved to the coast at the age of an Opti and grew up sailing dinghies and tall ships. School and semester breaks were used for extensive Baltic Sea cruises. During and after his oceanography studies in Kiel, he took part in various international research trips to tropical and polar regions. The focus was on ocean currents and their influence on climate change. Eventually he was drawn back to his home coast and to YACHT. He completed a traineeship there and has been working as an editor in the Test & Technology department since 2009. His core tasks include equipment and boat testing, as well as practical topics relating to electronics, seamanship and refits. As a passionate DIY enthusiast, he loves to spend his summers on the water with his family and winters working on his boat

