

This article is part of a charter special. The contents:
- How to enjoy a relaxed charter holiday on a boat
- You can save money with these twelve tips
- The most important tips about the boat and the area
- Crew contract: Legal security when chartering
- What you need to know about the charter licence
- The right insurance for your boating holiday
- Charter checklist - Everything you need to consider
- Provisions plan and stowage tips for your holiday cruise
- Tricks for the berth - relaxed mooring
- Instruction on the catamaran - know what is where
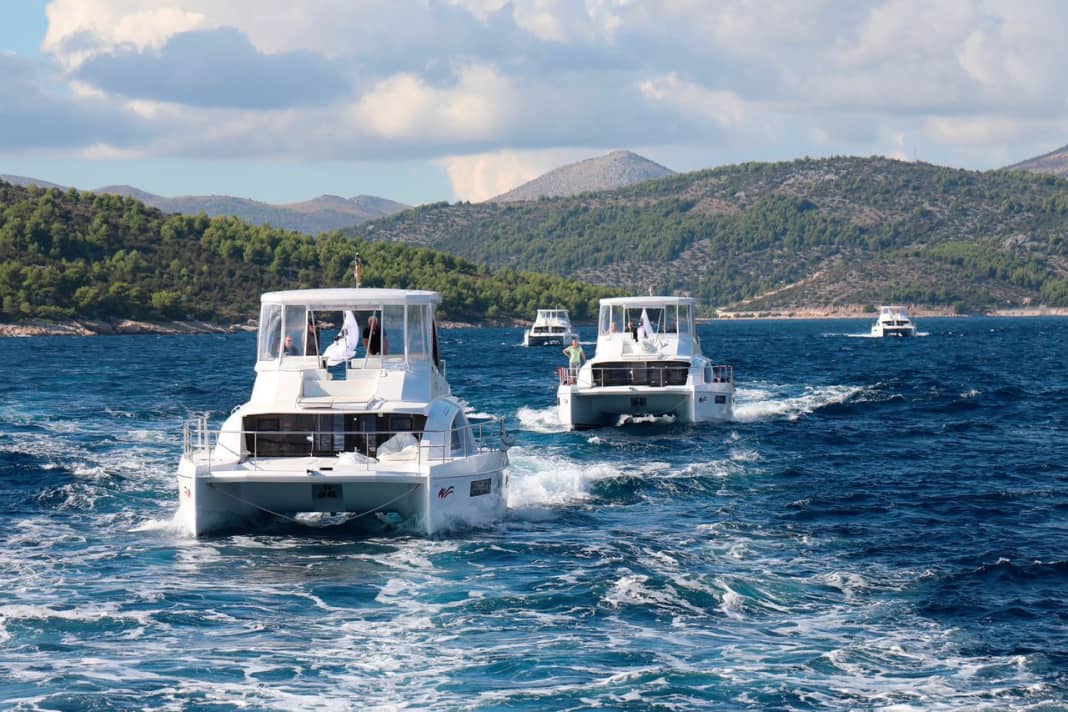
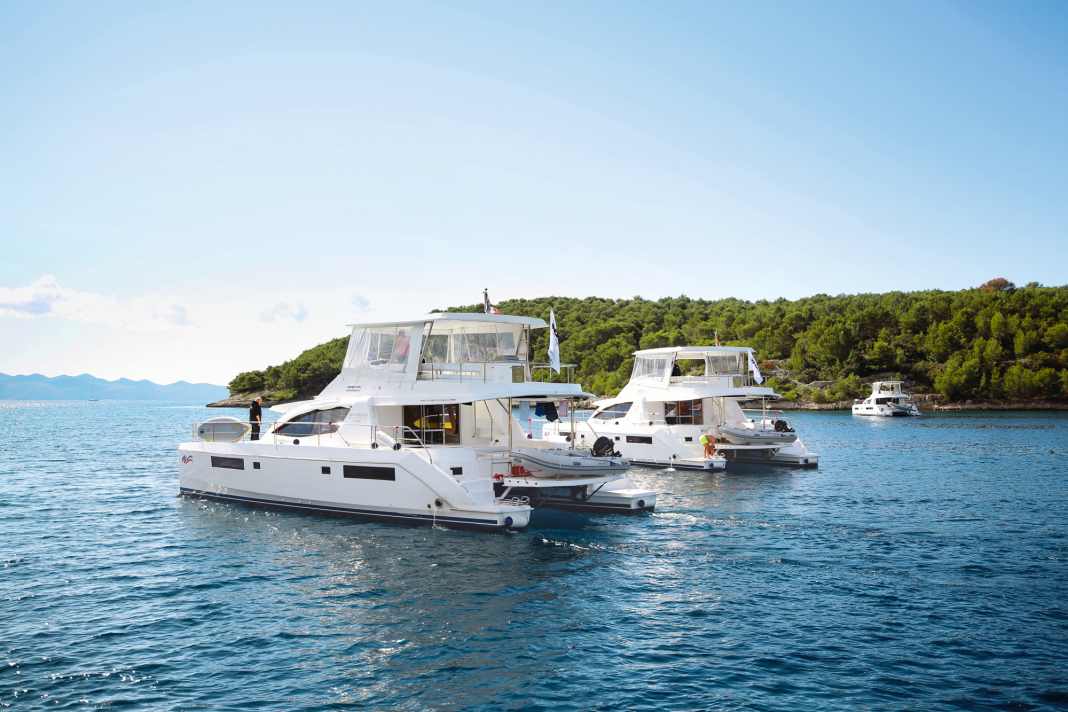
Anyone travelling on a foreign keel is well advised to familiarise themselves with the key features of the floating vessel before setting off. This applies to owners as well as charter customers. The latter have the advantage of receiving a briefing from the charter company before each trip. In practice, however, such briefings are often very rudimentary and the new holiday skipper often leaves the briefing with more questions than they went in with: where was the main switch for the navigation instruments again, what the hell is the "LPG control" and why can't I find the rudder angle display anywhere? If language barriers are added to the mix, the chaos is perfect and the first evening in harbour is dedicated to studying the boat manual, which is hopefully available, instead of enjoying a well-earned sundowner on the fly. At the BOOTE-Cat-Experience, which takes place every autumn in Croatia, we use Leopard 51 PC catamarans, among others. For this reason, we use the example of this motorised catamaran, which is widely used in charter circles, to show how such a briefing works and where to find what you need.
1. anchoring
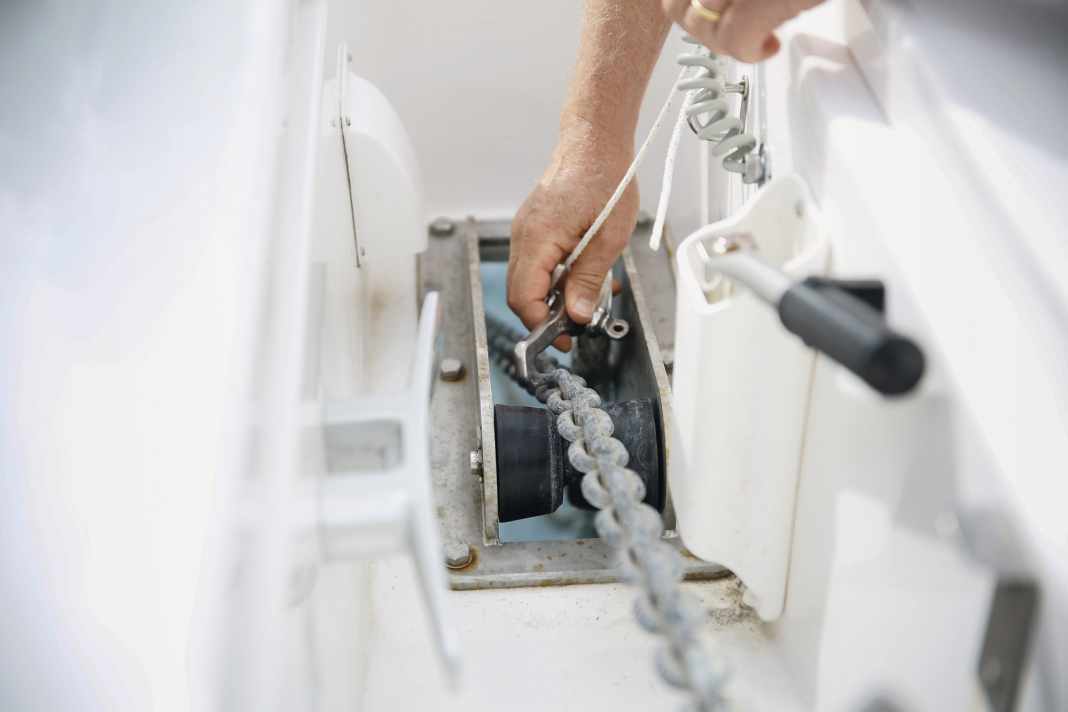


Every skipper should be familiar with anchoring gear. In southern areas, catamarans often spend the night "at anchor", especially if the harbour spaces are too narrow or already occupied. The anchor winch and its remote control are located on the foredeck of the Leopard catamaran under a hatch located amidships. Important: In order to supply the anchor winch with sufficient power, the engines should still be running during the anchor manoeuvre. This applies all the more when hauling up the anchor. To anchor, first release the lock and lower the chain according to the water depth (chain length = four times the water depth). Special feature of the catamaran: After lowering the chain, hook the anchor hook in the anchor compartment, release the thin holding line and lower another three metres of chain. The reason for this is that two safety lines run from the hook to the two hulls. They ensure that the pulling forces are evenly distributed over the hulls. The last step is to fold the locking mechanism back down and secure the anchor chain.
Tip: If the windlass fuse blows due to an overload, it can be found under the sink in the galley.
2. shore power, fuse panel and air conditioning
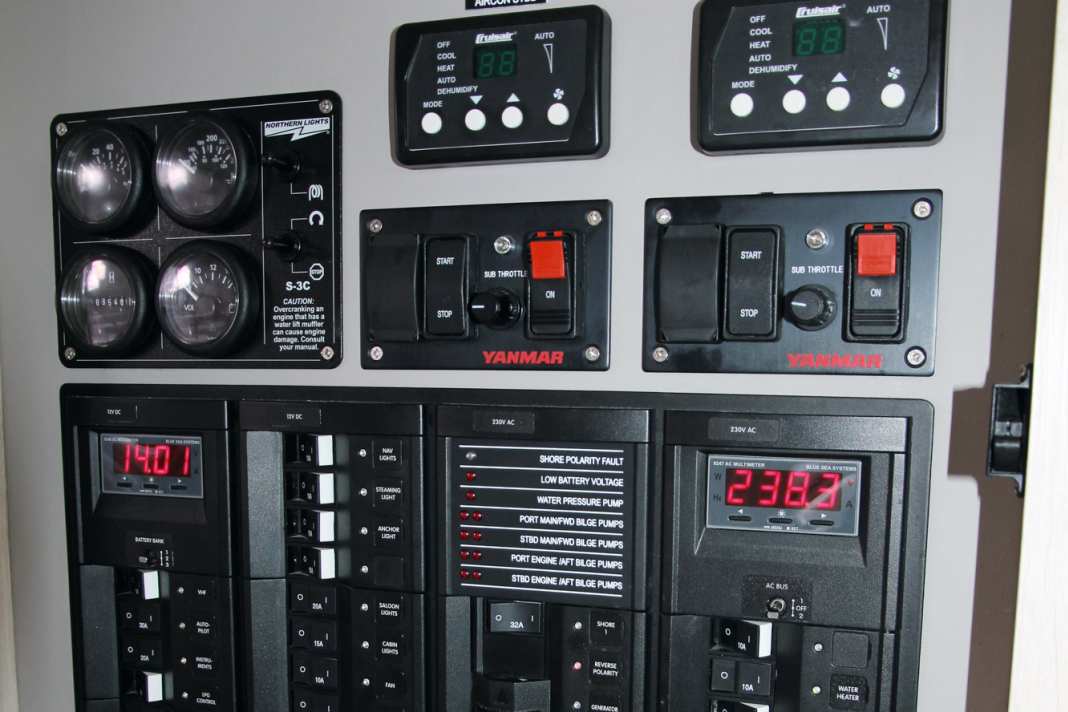


Without shore power, (almost) nothing works on large boats. If you want to use the toaster, the electric coffee machine or the air conditioning to dehumidify the air in the harbour in the morning, you need a sufficiently dimensioned shore power connection. The Leopard 51 is usually supplied via two shore power cables (16 A each) from the charging points in the harbour. The (yellow) cables are located in the life raft storage compartment under the stern bench seat in the cockpit and must be plugged into two sockets ashore. Behind the liferaft you will also find the relevant fuses and RCDs if required. Once the connection to the shore power has been established, the voltage can be read on the right-hand digital instrument on the main switchboard (to the right of the saloon entrance). It should not be less than 220 volts. The main control panel is divided into four segments. The two left-hand panels are for the 12 V consumers. This is where you switch the navigation electronics, the radio, the pressurised water pumps and not forgetting the main gas valve (LPG control) on or off. The two right-hand segments are used for the shore connection and the 230 V consumers such as the two hot water boilers, the three (!) air conditioning systems or the 230 V sockets for the coffee machine, toaster and microwave. In addition to cooling, the air conditioning units (Aircon) can also be used to heat or dehumidify the room air. The control units are located above the main control panel. The desired function (cooling/heating/dehumidifying) is selected using the "Mode" button. The desired temperature is set using the arrow buttons.
Tip: Only ever switch on the appliances on the 230 V distribution board that you actually need.
3. power generator
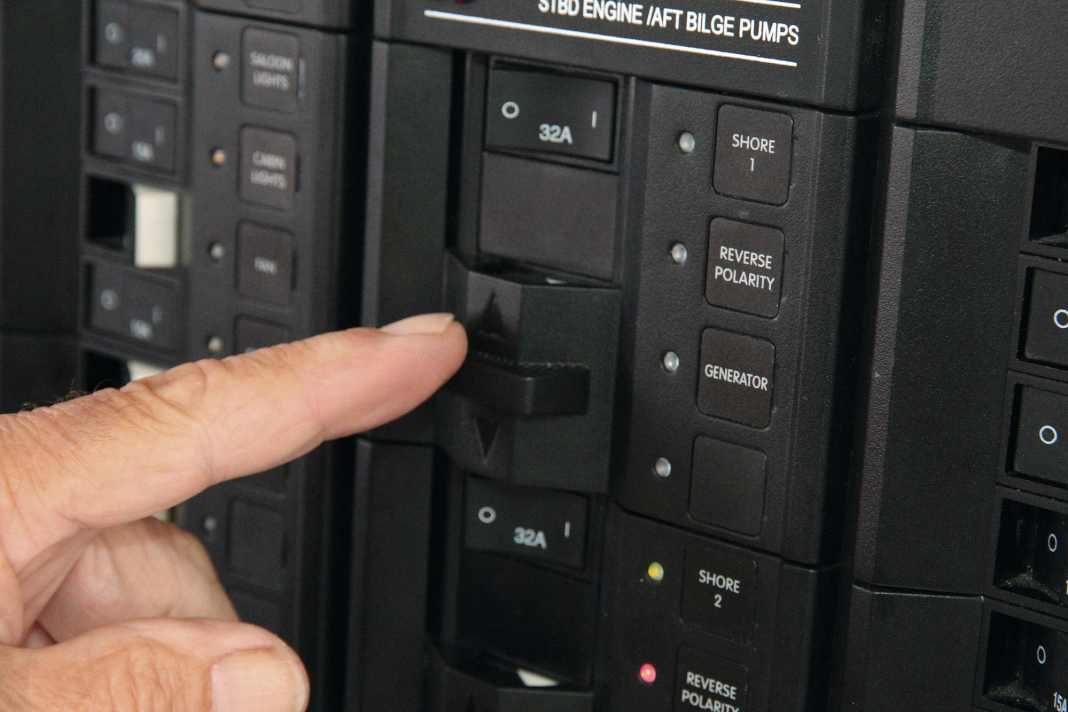


If no shore power is available, for example at anchor or on a mooring buoy, the on-board generator is used to generate electricity. It is located under the foredeck next to the port water tank. The generator is started via the control unit above the main switch panel. To do this, the upper button is pressed down (preheating) and after a few seconds the lower button (starting) is pressed up. Once the generator has started, release both buttons again. To feed the energy generated by the generator into the on-board power supply, the shore power connections on the main switch panel (230 V area) must be switched off, the cover plates (photo) moved upwards and the "Generator" and "Transfer" switches actuated. The transfer switch is only used to distribute the power to both shore power circuits in the ship.
Tip: The generator supplies less power than the shore power sockets. For this reason, not all 230 V consumers can be used at the same time.
4. driving position and instruments
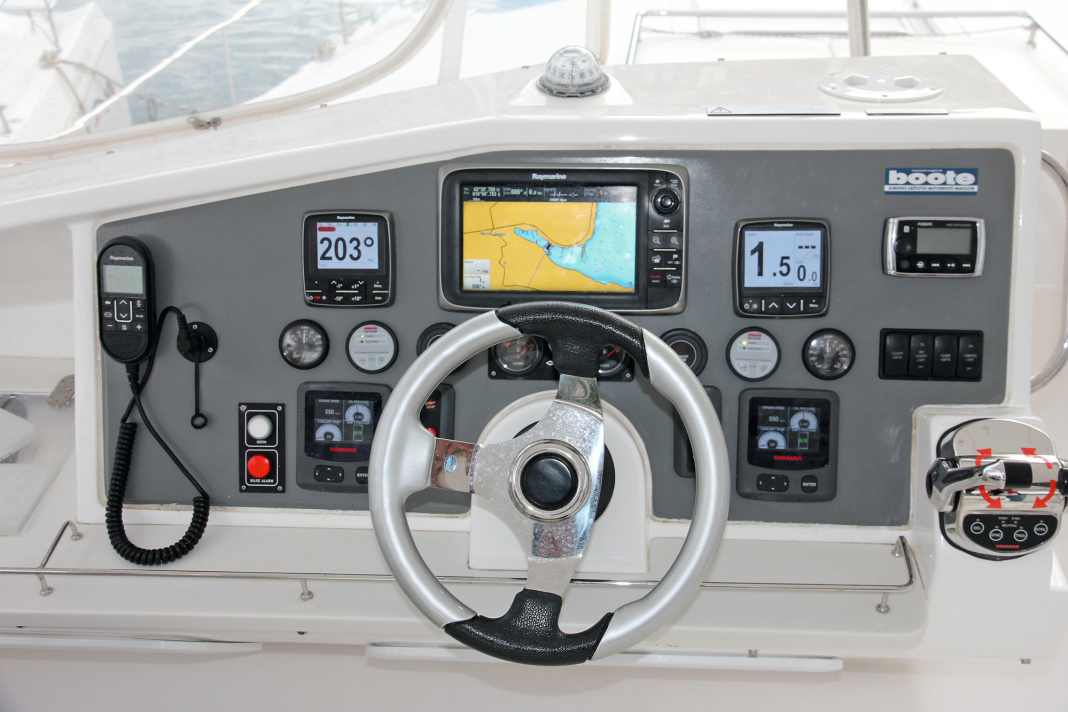


The driving position of the Leopard 51 is located on the flybridge. The boat is driven and navigated from here. The engines are started by first switching on the ignition on the Yanmar control panel (to the left and right of the steering wheel) and then pressing the "Start/Stop" button. The most important engine data such as engine speed and temperatures are then shown on the adjacent display. The electronic Raymarine chart plotter, which displays the boat's position on a digital chart, is located in the centre above the steering wheel. You can change the scale by pressing the plus or minus button. The autopilot (left) and echo sounder (right) are located to the left and right of the plotter. The echo sounder provides information about the water depth (the Leopard needs at least 1.5 metres under the keel), the autopilot is used for longer sea routes. After pressing the "Auto" button, the boat maintains the current course. Press the "Stand-By" button to switch back to manual control. Important: This instrument also contains the rudder angle indicator (red-green bar at the top of the display). If no colour is displayed, the rudder is amidships. This rudder position should be displayed if you want to steer the boat in the harbour using the engines. The fuel gauges are located directly behind the steering wheel. As the power generator is supplied exclusively from the port tank, there is a "Fuel" button that can be used to equalise the tank contents from starboard to port if necessary. The VHF radio, which is required to register in harbours or to make contact with other boats, is located at the navigation station in the saloon. There is an additional control unit at the helm station.
Tip: The WLAN password can either be found directly on the router or in the boot papers.
5. fresh and waste water


There are three large tanks under the foredeck for storing fresh water for the showers, washbasins, kitchen and toilets, with a total capacity of almost 800 litres. If a tank is empty, you can switch to another tank via the drinking water distributor, which is concealed behind the front back cushion of the saloon seating area. Important: be sure to turn off the tap of the empty tank, otherwise the pressurised water pump will draw air and there will be no more water. If you need to refill the tank with water, do this in the next harbour. The hose required for this is located next to the tanks under the foredeck hatches. The tanks are filled using the large screw cap. When taking on water, you should first drain ten to 20 litres from the hose into the sea to flush out any impurities. The toilet is operated via two buttons in the toilet cubicles. One is for flushing, the other for pumping into the waste water tank. When the tank is three-quarters full, a red light above the shower comes on. The waste water can be extracted through a special suction connection on deck (waste) at a disposal station. Alternatively, there is a black drain valve under one of the floor panels at the rear of the hulls. Important: This valve must always be closed, especially in harbours! The stern shower is located on the bathing platform of the port hull. It supplies both cold and hot fresh water.
Tip: Even if you probably never need it: The manual bilge pump is located on the companionway in the port hull.
6. gas system for cooker and oven
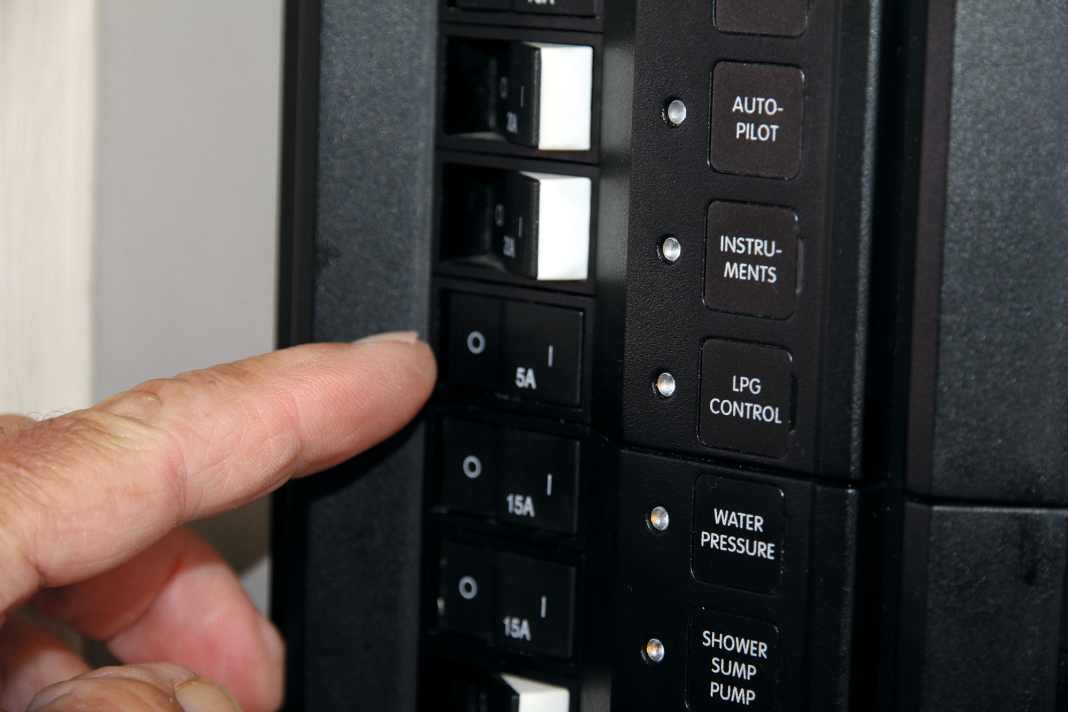


Gas is used for cooking and baking on the Leopard 51. Before the cooker or oven can be put into operation, the "LPG Control" switch on the 12 V section of the main switch panel must be switched on and the yellow indicator light in the galley must be illuminated. The switch controls a solenoid valve and opens the gas flow to the cooker. The gas flames and oven are ignited via an electric switch with a flash symbol. After cooking, the LPG switch is switched off again. The gas cylinders are located at the rear of the starboard hull under the seat. If no gas is required for a longer period of time, the cylinders should be closed. Before running out of gas for the first time, it is advisable to lift the cylinders to check that they are full.
Tip: The pressure gauge in the gas box only provides information about the gas pressure. It is not a "fuel gauge" for the cylinders.
7. refuelling
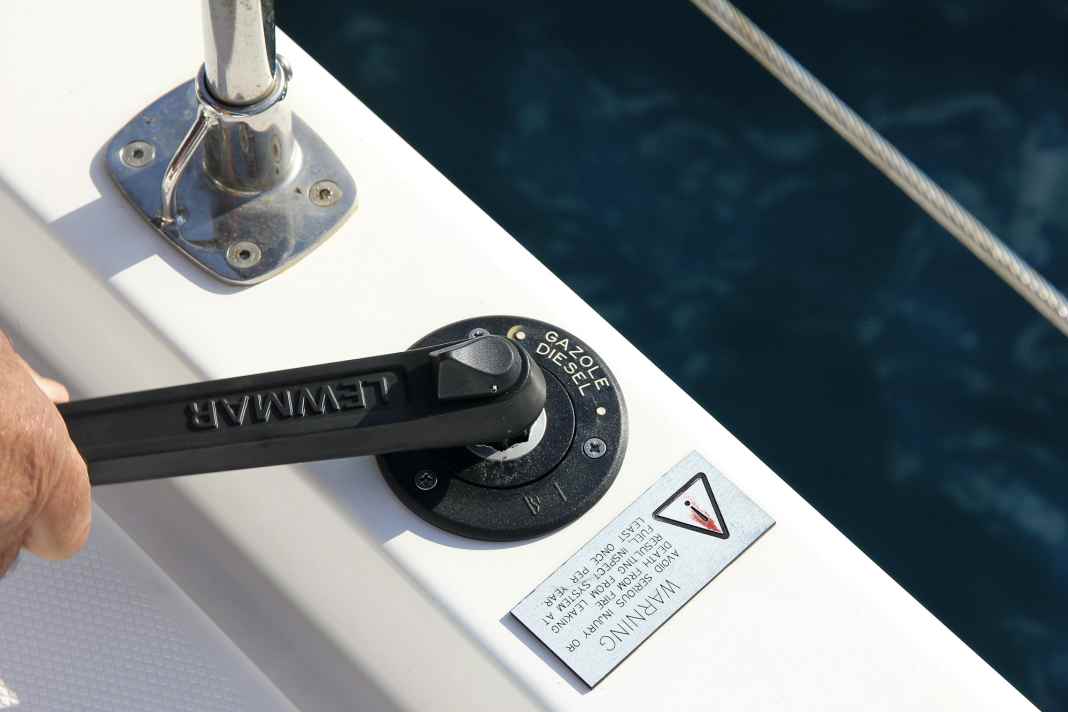


The Leopard has a tank capacity of around 1500 litres in two tanks. This is more than sufficient for a normal charter or holiday cruise. Nevertheless, even the charter skipper cannot avoid refuelling, as he has to hand the boat back fully fuelled at the end. The fuelling nozzles are located on the coaming of both hulls and are marked with the word "Diesel". A crank handle located in the gas bottle box on the starboard side is used to open the tank. Always keep a cloth to hand at the petrol station and have a crew member watch the fuel gauge. Diesel foams over quickly, so if in doubt, it is better to finish refuelling a little too early than too late.
Tip: The fuel filters are easily accessible under the floorboards in front of the rear cabs.
8. dinghy and engine
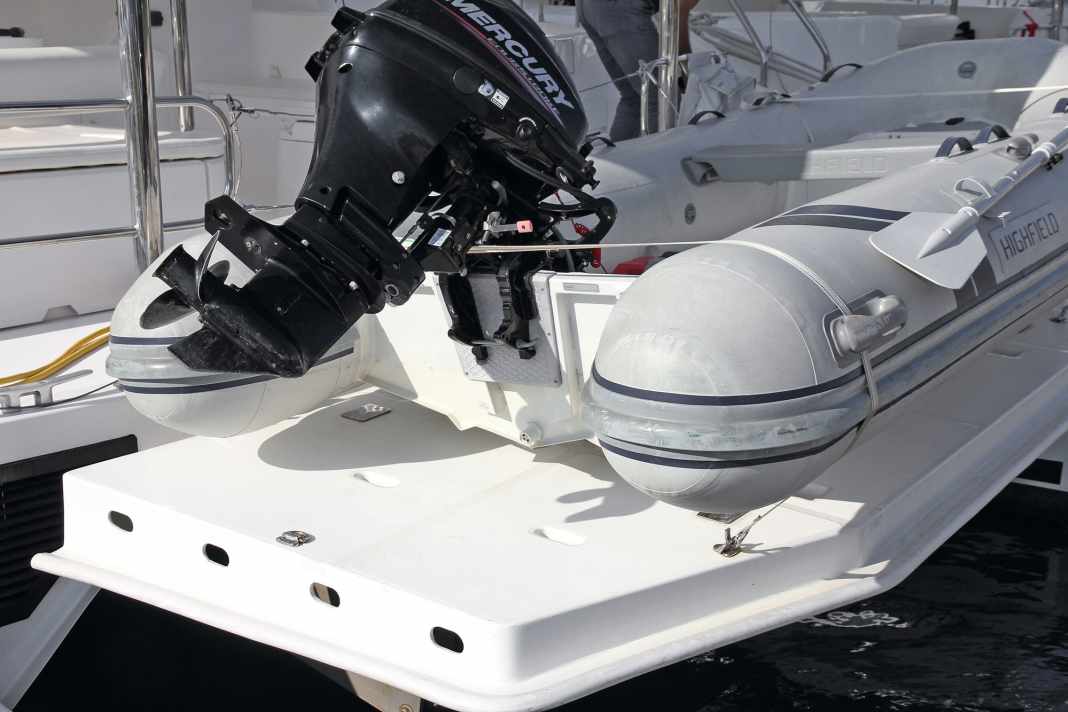


The dinghy is very important on charter boats, especially when anchoring or mooring at a mooring buoy. It enables the crew to go shopping or to a restaurant, or is simply used as a fun vehicle for the youngsters. On the Leopard 51 PC, the dinghy is located on an electrically lowerable platform at the stern. Before lowering it into the water using the remote control located in the port hull (photo), the two tensioning straps must be released and a mooring line laid from the dinghy to the catamaran. Once the boat is afloat, push it from the platform into the water on the sliding rails. The outboard motor has an electric starter, but can only be started after the quick stop (red plastic cord with U-shaped fork) has been inserted. The gearstick and throttle lever are either integrated into the tiller or the gearstick lever is located on the outside of the motor (older models). Again, depending on the model, the red stop button is located in the tiller (photo), or the quick stop is released from its holder.
Tip: When handing over, make sure that the outboard tank is full.
9. papers, documents, district information
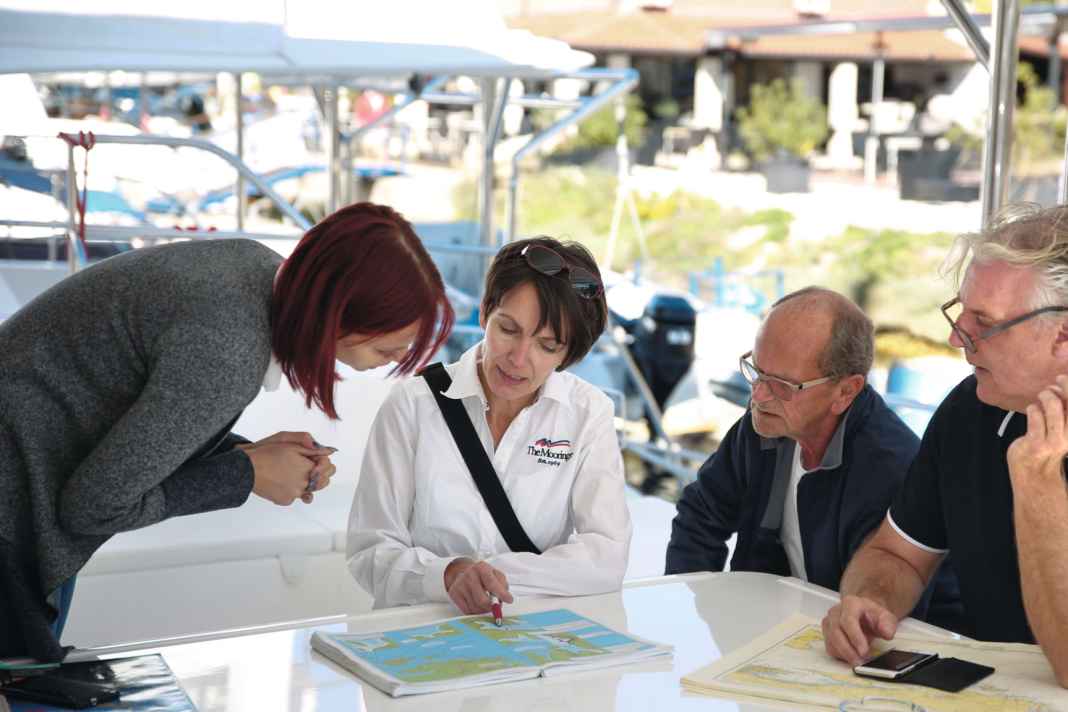


It goes without saying that the skipper has his personal documents with him, such as his sports boat licence and radio certificates. On a foreign keel, however, the boat papers for the charter boat, proof of insurance and, if necessary, crew lists are also required. You will receive these from the charter company when you hand over the boat. Depending on the area, you may have to hand them over to the harbour master in the host port without being asked, for example in Croatia. They then remain there (as a deposit) until you pay the harbour fee and leave again. Every charter briefing also includes a more or less intensive area briefing. And it's a good idea to listen carefully to the charter company's local staff and take notes. This will save you a lot of trouble. Charts and harbour handbooks are standard on charter boats, but it can't hurt to have your own books or information material with you.
Tip: Anyone who relies on the Internet on site and wants to take their cruise information from the usual search engines is considered grossly negligent, and not only in our eyes.
10. rescue equipment
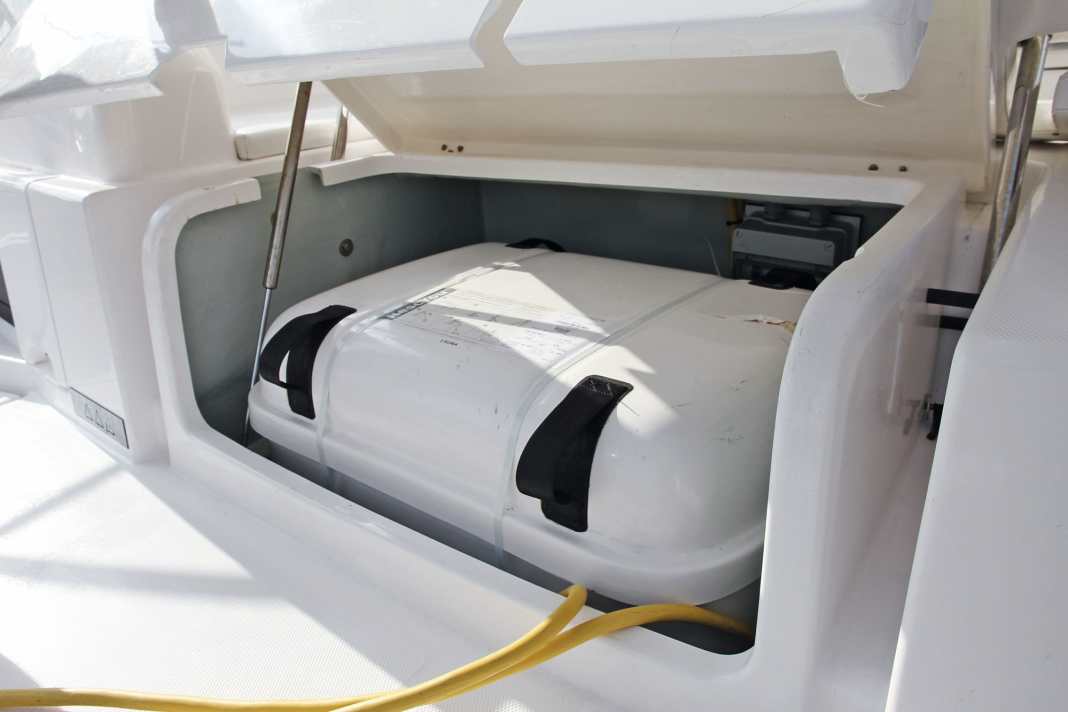


In addition to the lifejackets, which are located in the lockers in each cabin, the life raft and distress signals are among the essential life-saving equipment on a charter catamaran. The life raft on the Leopard 51 is stowed under the aft bench seat in the cockpit, while the distress signals and the tool set are located under the bench seat on the navigation table (port side of the saloon).
Tip: Every crew member should know exactly where the rescue equipment is located.
This article is part of a charter special. The contents:
- How to enjoy a relaxed charter holiday on a boat
- You can save money with these twelve tips
- The most important tips about the boat and the area
- Crew contract: Legal security when chartering
- What you need to know about the charter licence
- The right insurance for your boating holiday
- Charter checklist - Everything you need to consider
- Provisions plan and stowage tips for your holiday cruise
- Tricks for the berth - relaxed mooring
- Instruction on the catamaran - know what is where
