

All episodes of the refit project:
- Part 1: Stocktaking
- Part 2: Replacing the rear view mirror
- Part 3: The underwater hull
- Part 4: GRP repairs
- Part 5: Antifouling coating
- Part 6: The motor foundation
- Part 7: The stringer system
- Part 8: The new engine
- Part 9: The new tank
- Part 10: The interior fittings
- Part 11: The interior work continues
- Part 12: The side panelling
- Part 13: Surface treatment and colour
The paint, or rather the underwater coating, is off. Gelcoat peeling, partially thinned gelcoat, hairline cracks, large pores, deep scratches from the constant ups and downs on the trailer and lots of small items: the inventory after the thorough visual inspection is sobering.
What to do? From a technical point of view, it makes sense to completely remove the gelcoat down to the laminate, say the refit professionals at Peter Wrede.
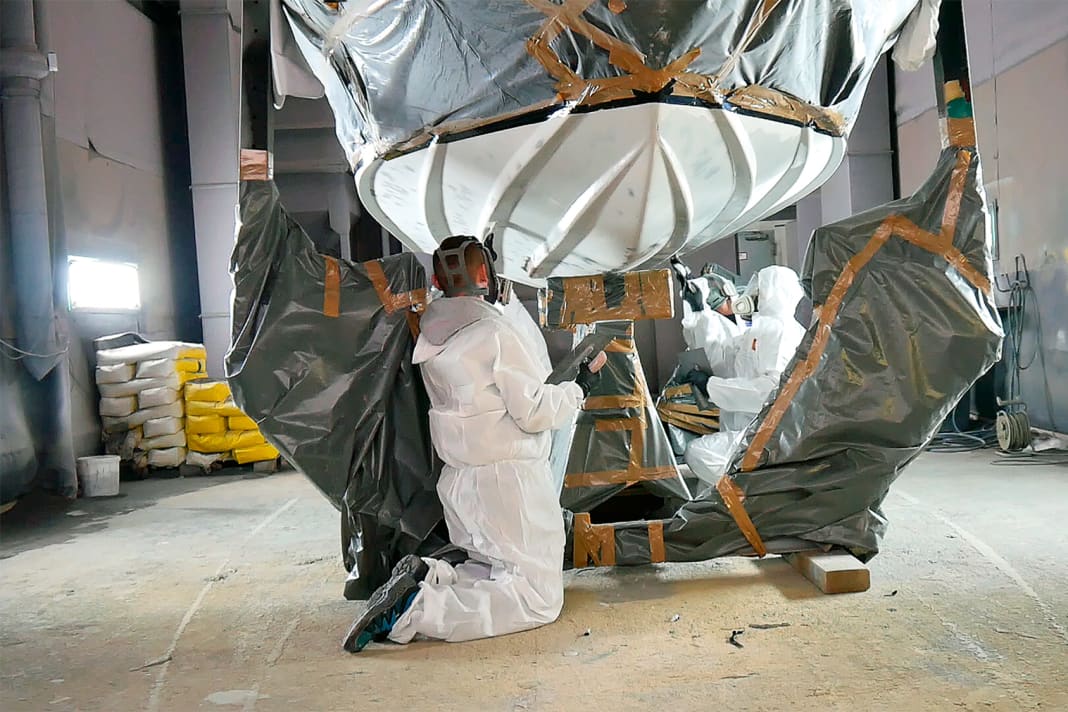
This is the only way to be sure that no underground risks remain in the processing area that could cause trouble in the years to come. No sooner said than done. With the help of the intensive shot-blast process, the battered gelcoat is history just two hours later. After the blasting work, it is now a matter of repairing the GRP damage that has been uncovered and reinforcing the mirror that has been renovated from the inside. The old cut-out for the Z-drive has to be "filled".
The specialists do this in "layered work". In the first layer, the edges of the cut-out are sanded conically (shaft length at least 1 : 20), and then an adhesive resin is applied to the entire surface with a wide spatula.
The fabric mats are laminated on layer by layer
In the second layer, during the subsequent laminate build-up, fibreglass and glass fabric mats are laid alternately step by step and impregnated with a vinyl ester resin using an adhesive roller. This is done until the repair surface and the mirror form a completely flat surface. This can be checked quickly and easily using a levelling rod. It is also important that the laminate is carefully compacted at regular intervals using a special steel roller. This is the only way to avoid air pockets. The professionals work on all other repair areas after the mirror reinforcement using the same procedure.
Once the laminating work is complete, the mixed vinyl ester gelcoat filler is used. This is used to evenly coat damaged areas on the underwater hull as a team. Once everything is smooth and the filler has dried, a new thick layer of vinyl ester gelcoat is applied to the entire underwater hull using the airless spraying method. Whereby Wrede's stanchion system is once again the guarantee that the coating can be applied "from a single mould" without any imperfections.
The gelcoat is applied at the end
After the "drying period", the gelcoat is prepared for coating with the epoxy protective armour. This means that the entire underwater hull is accurately sanded once again. This is called fine sanding by the professionals, who use pneumatically driven sanding machines and lots of sanding discs. If there are any final imperfections, they are smoothed out with epoxy filler.
It goes without saying that you can't carry out work like this in grandad's old motorbike shed around the corner. At the very least, you need a decent shed. Peter Wrede's is well equipped and, in order to prevent the temperature from falling below the dew point, is kept at a constant room temperature of 20 degrees throughout the entire process.
The materials used like it a little warmer. In other words, they are tempered at 35 degrees so that they reach their full technical properties. It is also important that all components are always mixed, or rather stirred, in the right proportions. Only then will they do what they are supposed to do.
Video of the refit project
The BOOTE Refit project is supported by


